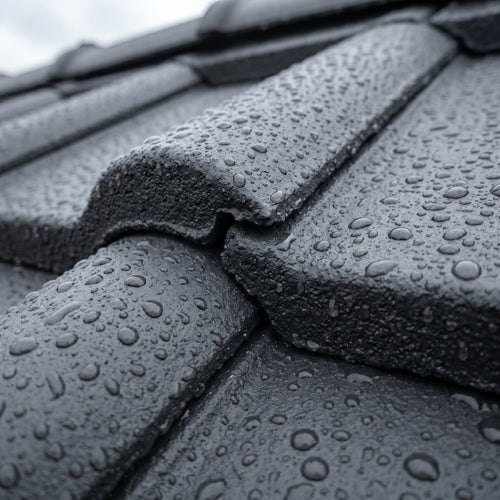
Swelling & shrinking
Timber can change in volume by up to 8% between damp and dry seasons. Traditional varnishes crack — and water finds a way in.
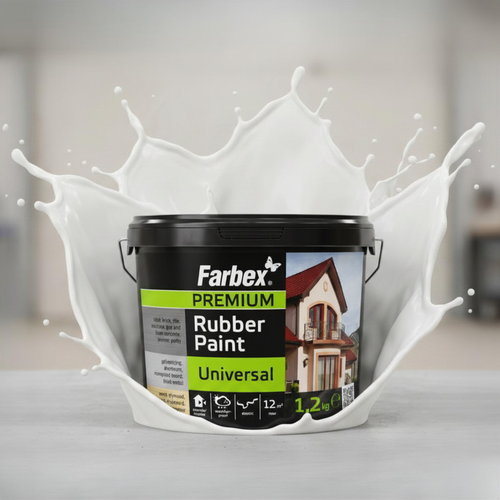
RUBBERPAINT
local_shipping
Free shipping from £199.00
trending_up
Only £199.00 until free shipping!
check_circle
Free shipping unlocked! 🎉
bolt
Shipping in 24 h after payment

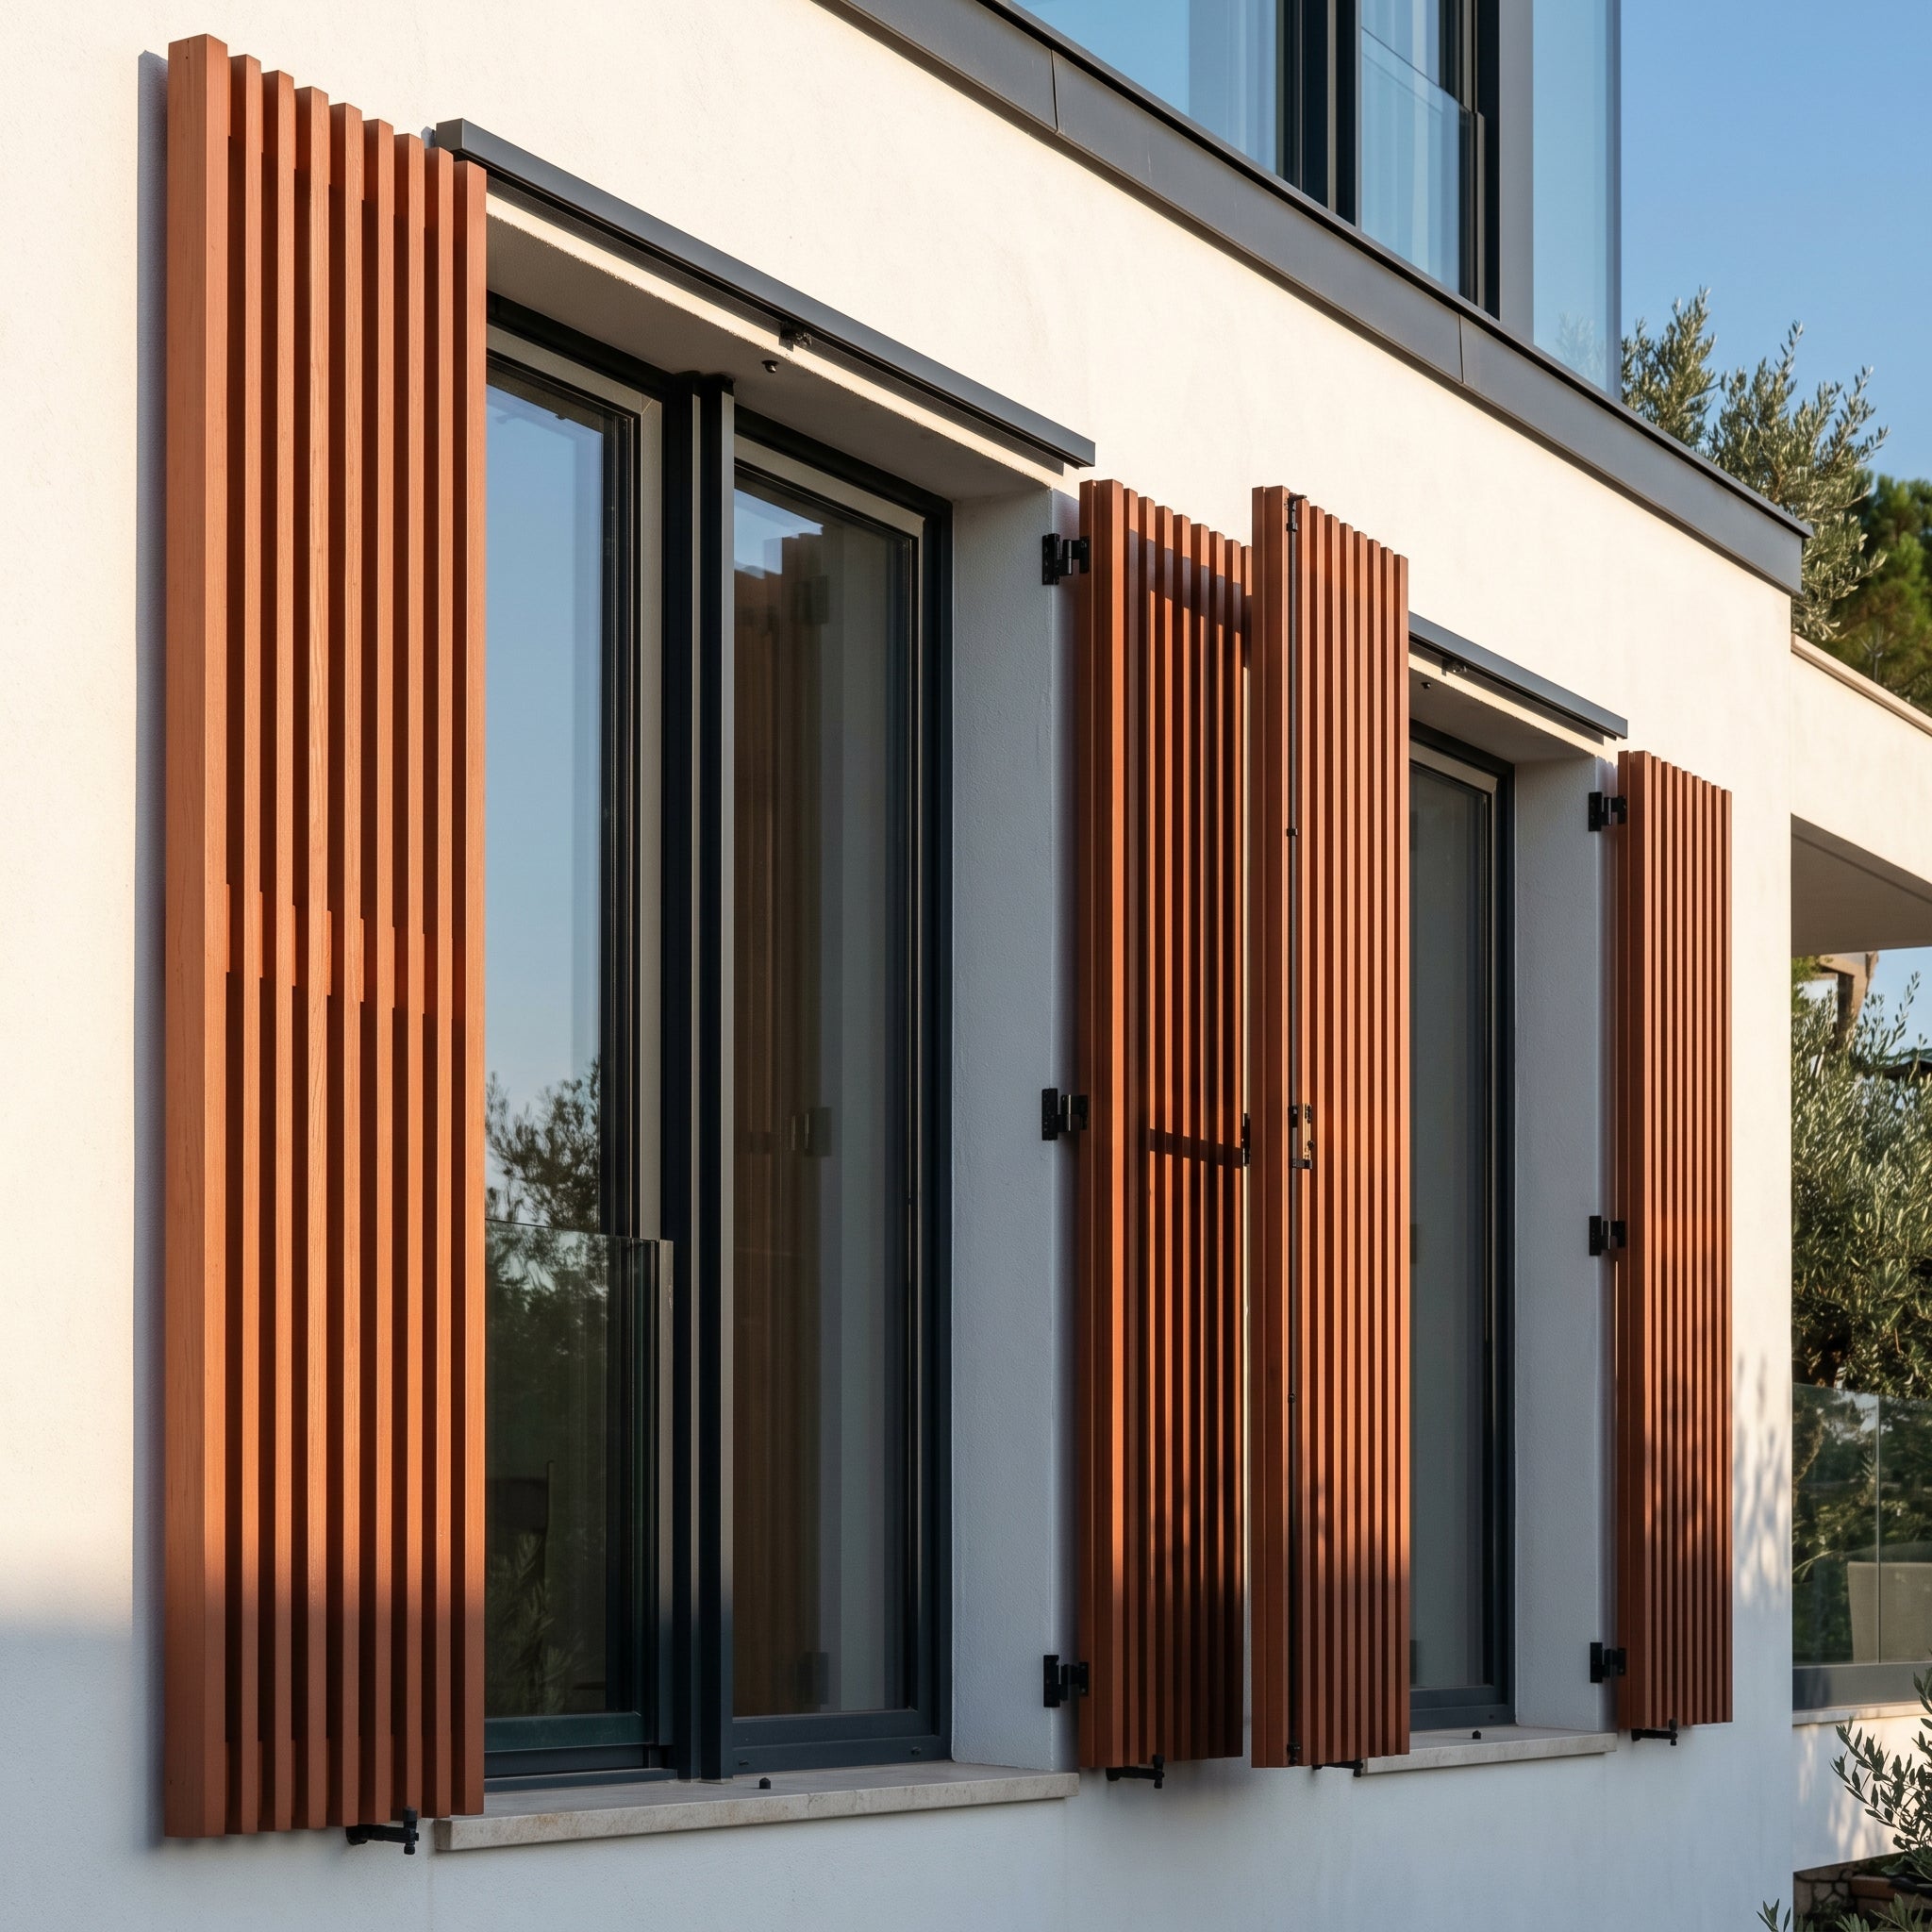
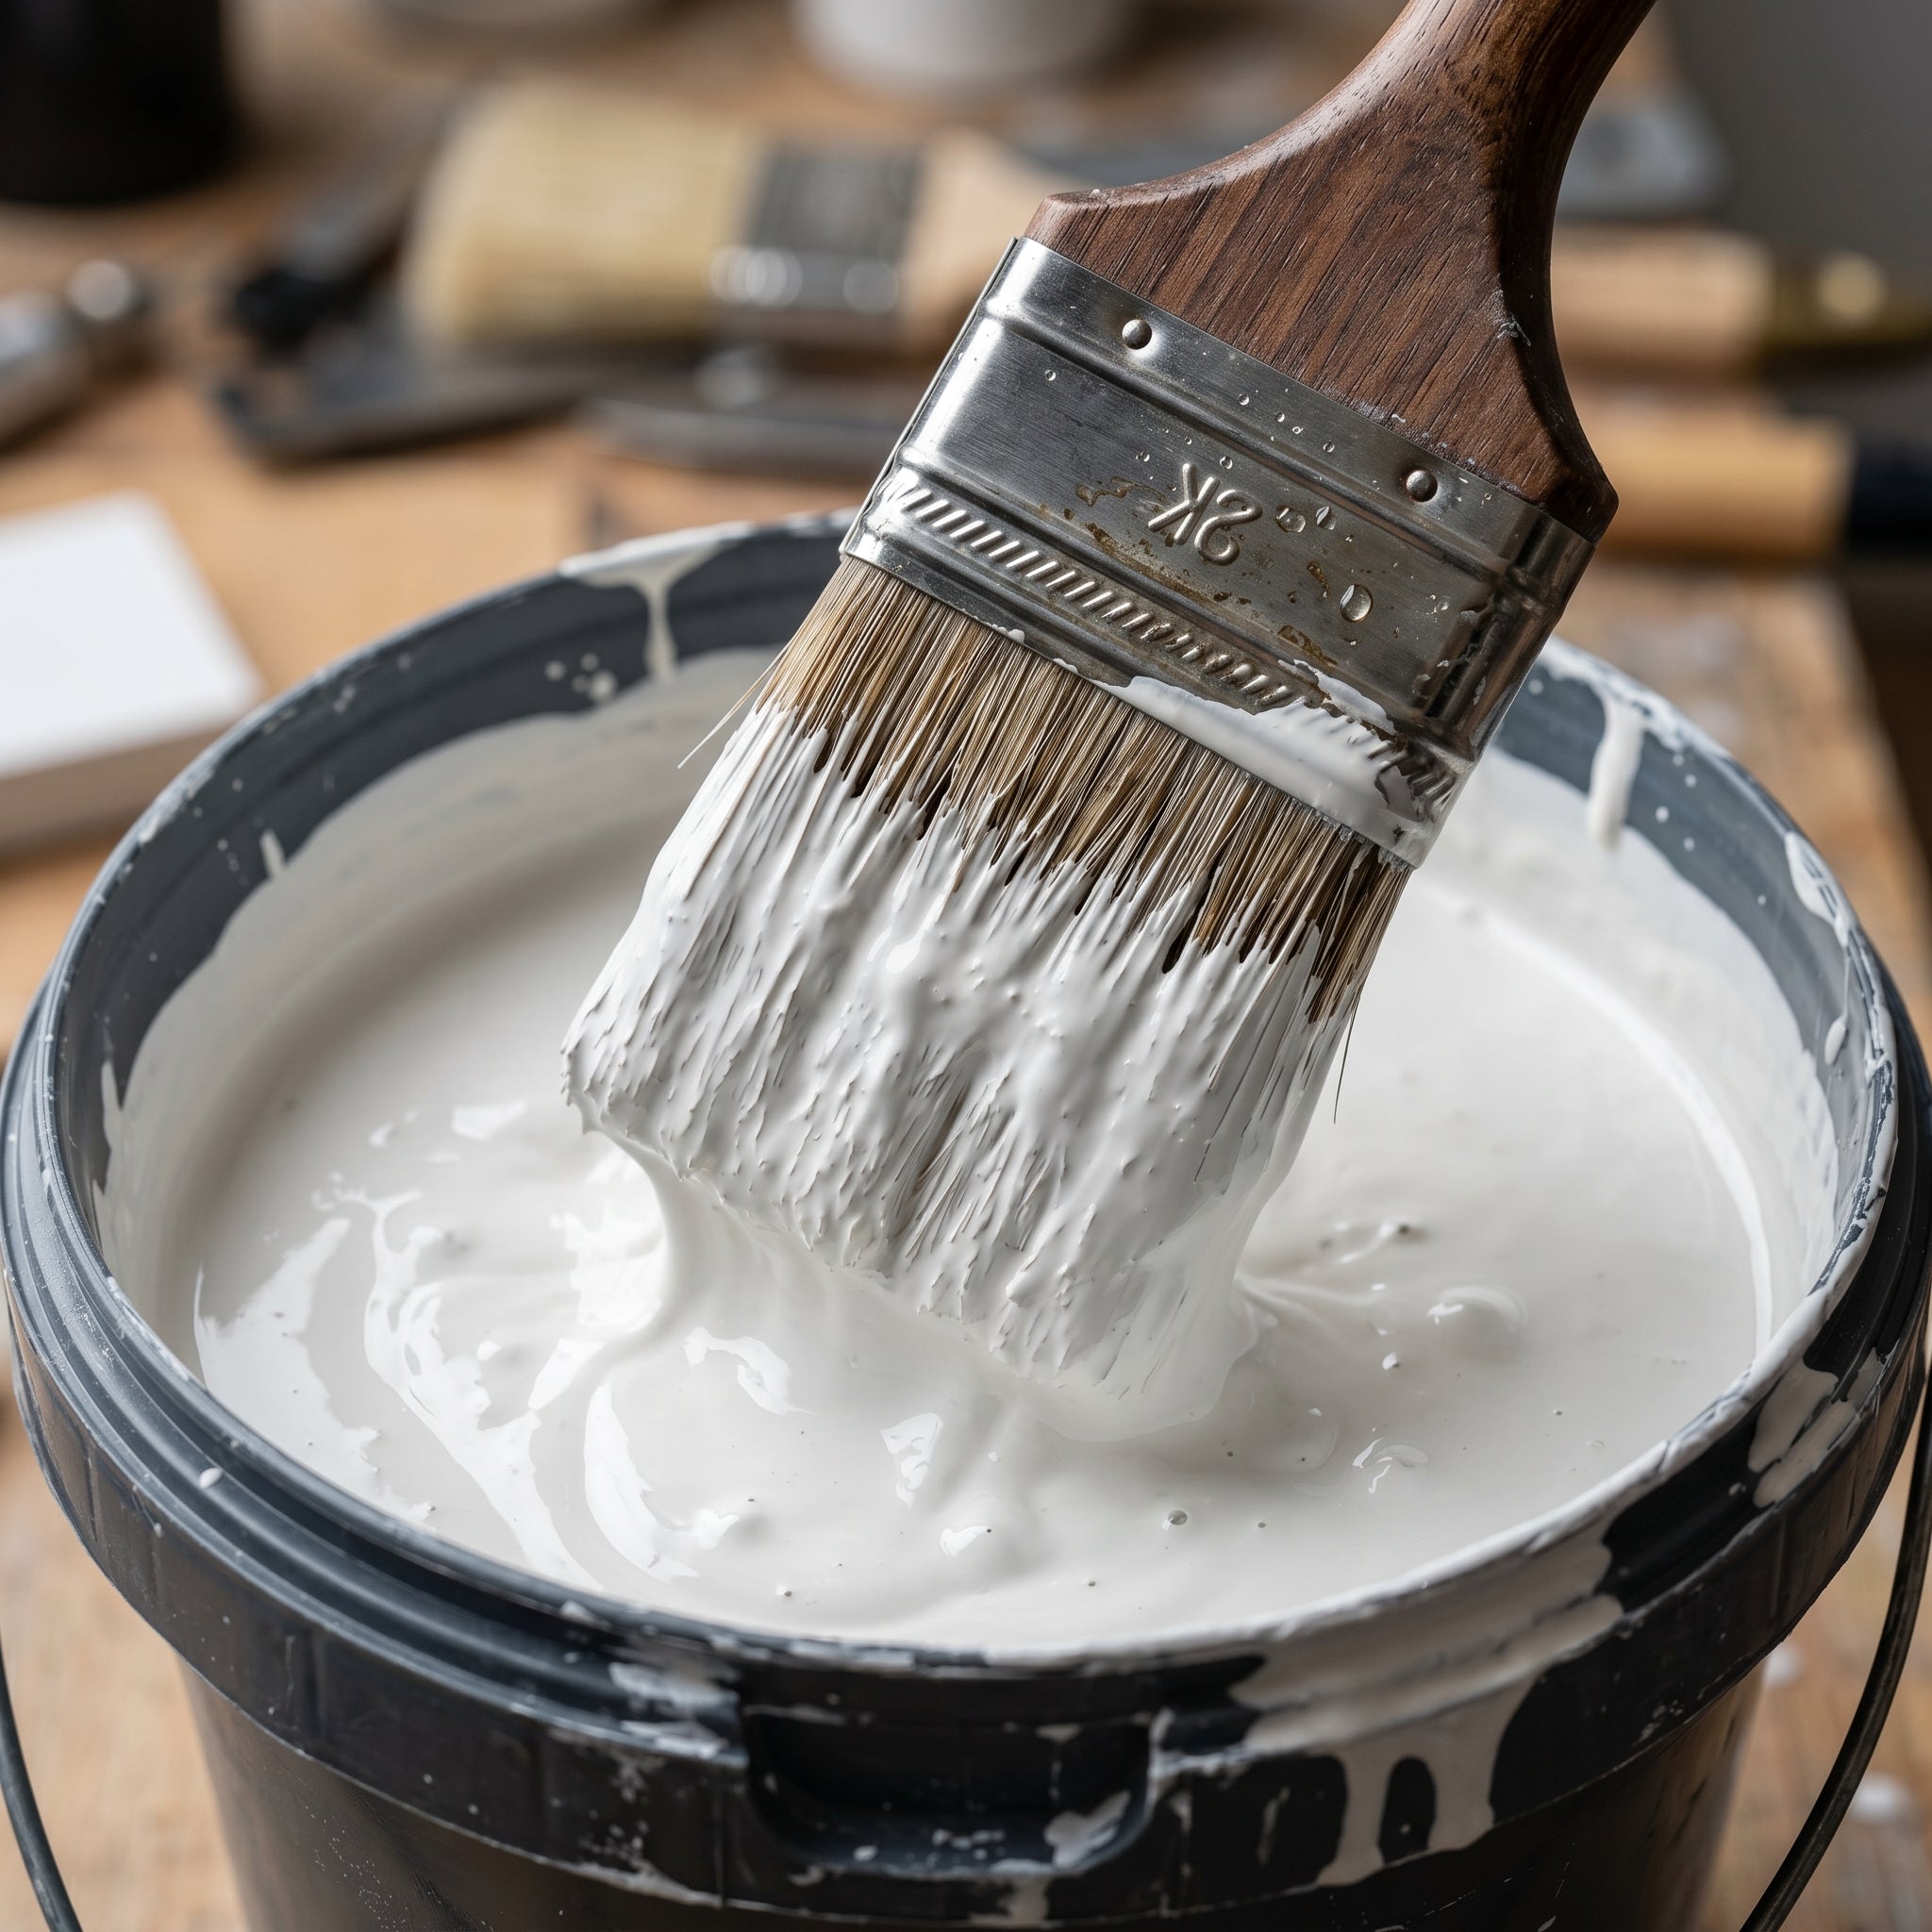
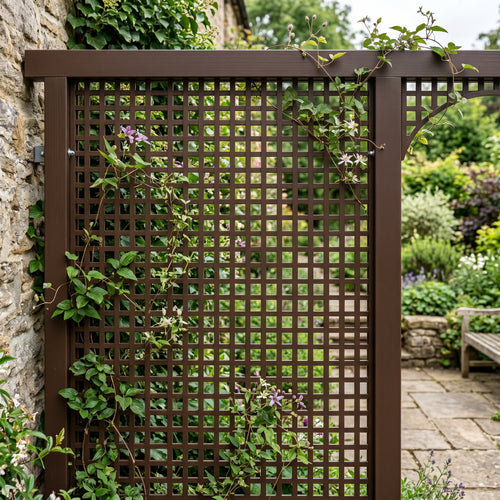
Liquid plastic for fence, garden house, carport, pergola and wooden facade. Follows the natural swelling and shrinking of the wood without cracking. Protects against greying, rot and algae infestation.
Liquid rubber for wood is an elastic membrane that moves with every swelling and shrinking cycle of the timber — unlike rigid varnishes, which crack and peel after 2–3 years. Suitable for fences, timber cladding, garden buildings, sheds and post bases. Apply by brush in 2 coats, no primer required in standard cases.
Wood is a living material — it swells when damp and shrinks when dry. Rigid stains and varnishes crack, water gets in and the timber rots.
Timber can change in volume by up to 8% between damp and dry seasons. Traditional varnishes crack — and water finds a way in.
Water that has penetrated breaks down the wood fibres. Components warp, and load-bearing elements lose their strength.
Without UV protection, the surface of the timber turns grey within 1–2 years. Algae and fungi take hold, and the appearance suffers for the long term.
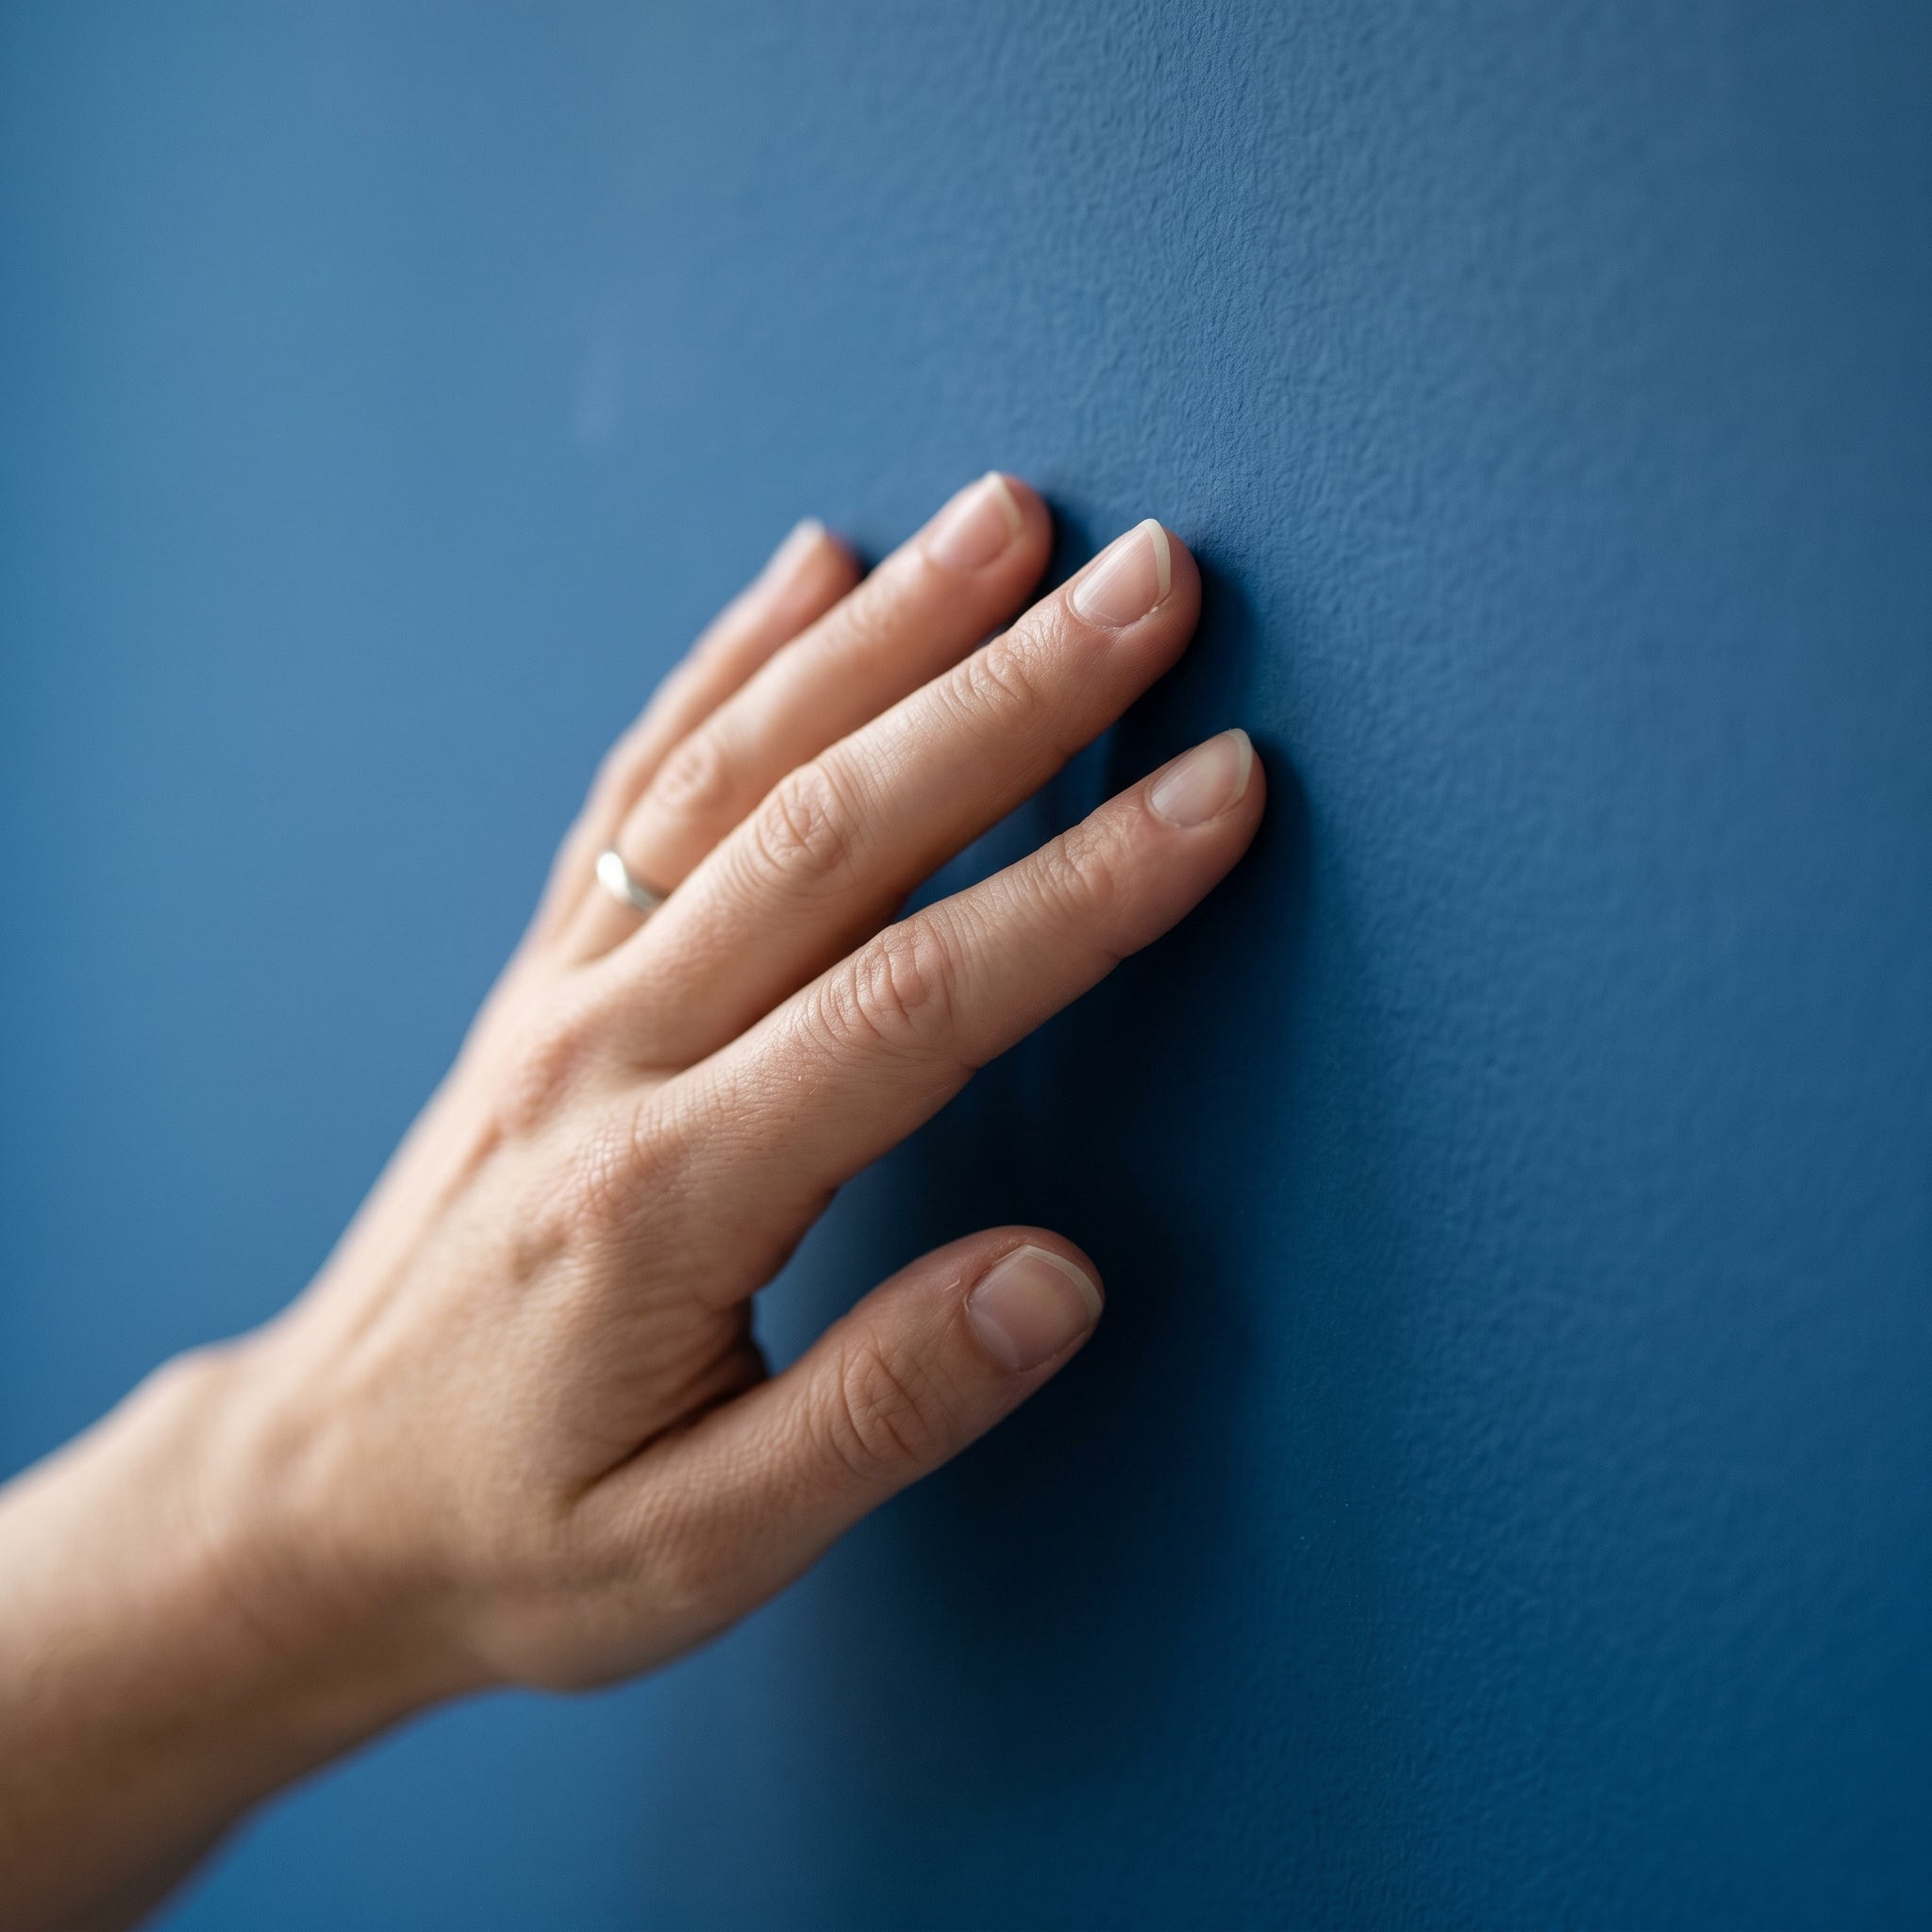
Highly elastic and crack-bridging — follows every swelling and shrinking cycle without cracking. Quite unlike rigid varnishes.
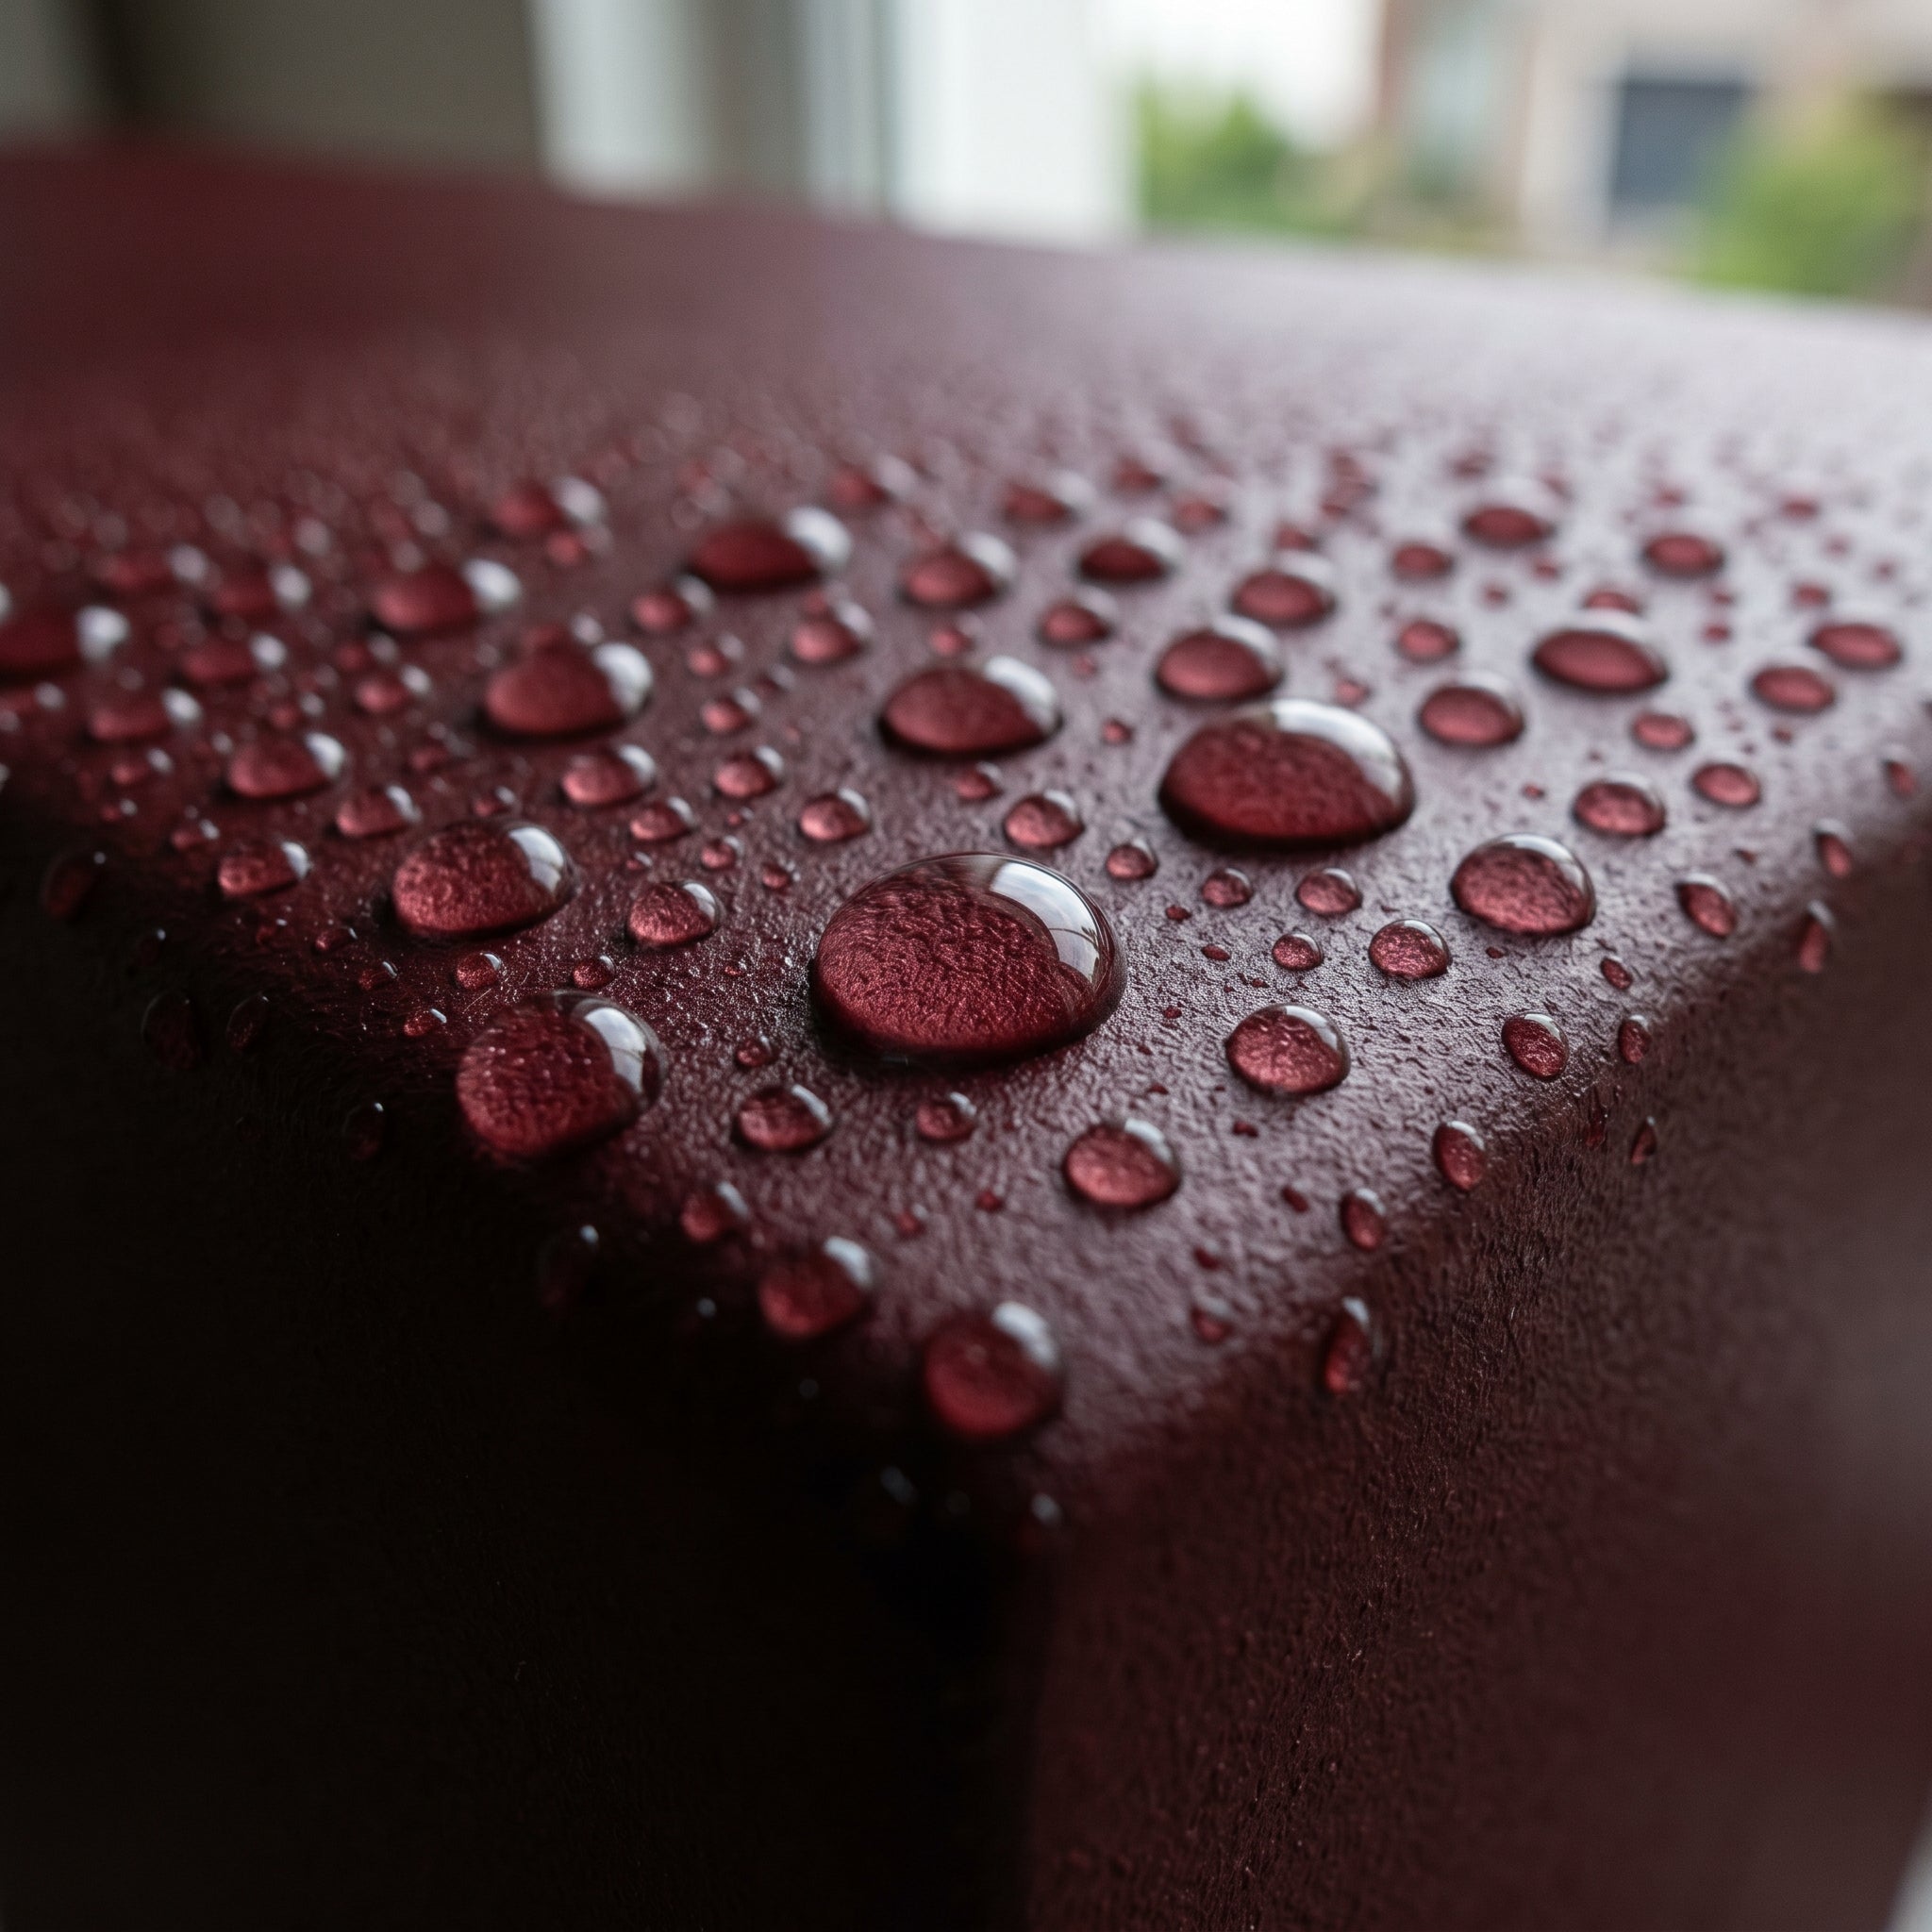
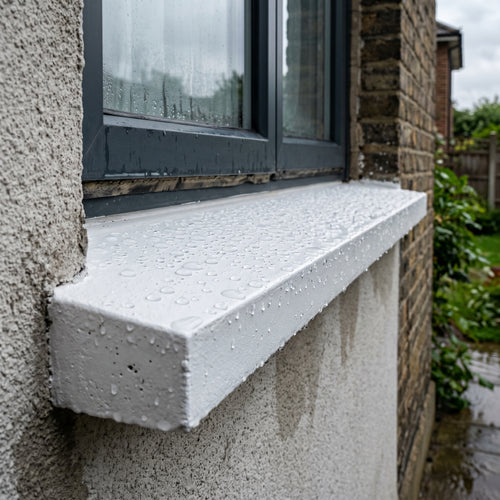
One continuous elastic membrane shields the timber from driving rain and prolonged damp — water never reaches the fibres.
A stabilised acrylic-latex system stands up to UV. The wood keeps its colour rather than fading to grey.
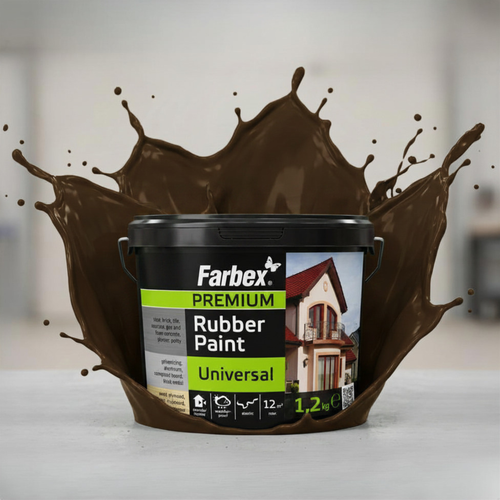
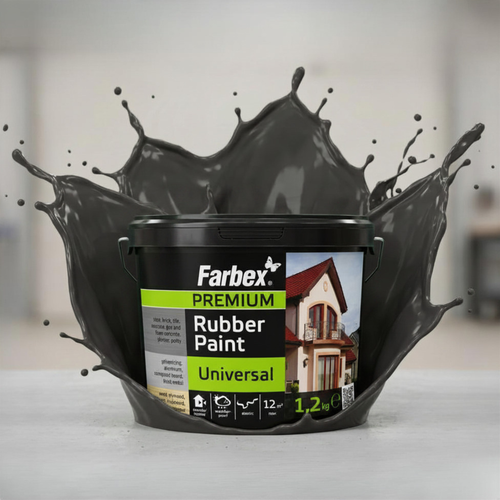
9 RAL shades from black to yellow-brown. Covers old greying, previous stains or damage reliably in one go.
Clean fibres for optimal adhesion.
Mechanically remove loose wood fibres, old glaze residue and dirt — if needed sand with grit 80–120, then sweep off dust thoroughly. Wood moisture must be below 20 % (manufacturer specification); higher moisture risks bubbling.
For heavily greyed wood or algae/fungal infestation, pre-treat with a wood de-greyer or algae/fungus remover, rinse thoroughly and let dry for 48 h.
Pro tip: Never apply over pressure-treated wood under 6 months old — impregnation agents must outgas first. Test: a water drop must absorb in 30 seconds, otherwise too early.
Important if pre-damaged.
On strongly absorbent or splintery wood apply a deep primer (wood impregnation) — improves adhesion and protects against fungal growth through the wood. Let dry for 12 h before further work.
On sound old paint (glaze, lacquer) sanding with grit 80–120 is enough — primer can be skipped.
Pro tip: Always prime cut edges and end-grain twice — wood absorbs most here and weathering starts here. Double priming extends service life by years.
Deep penetration for hold.
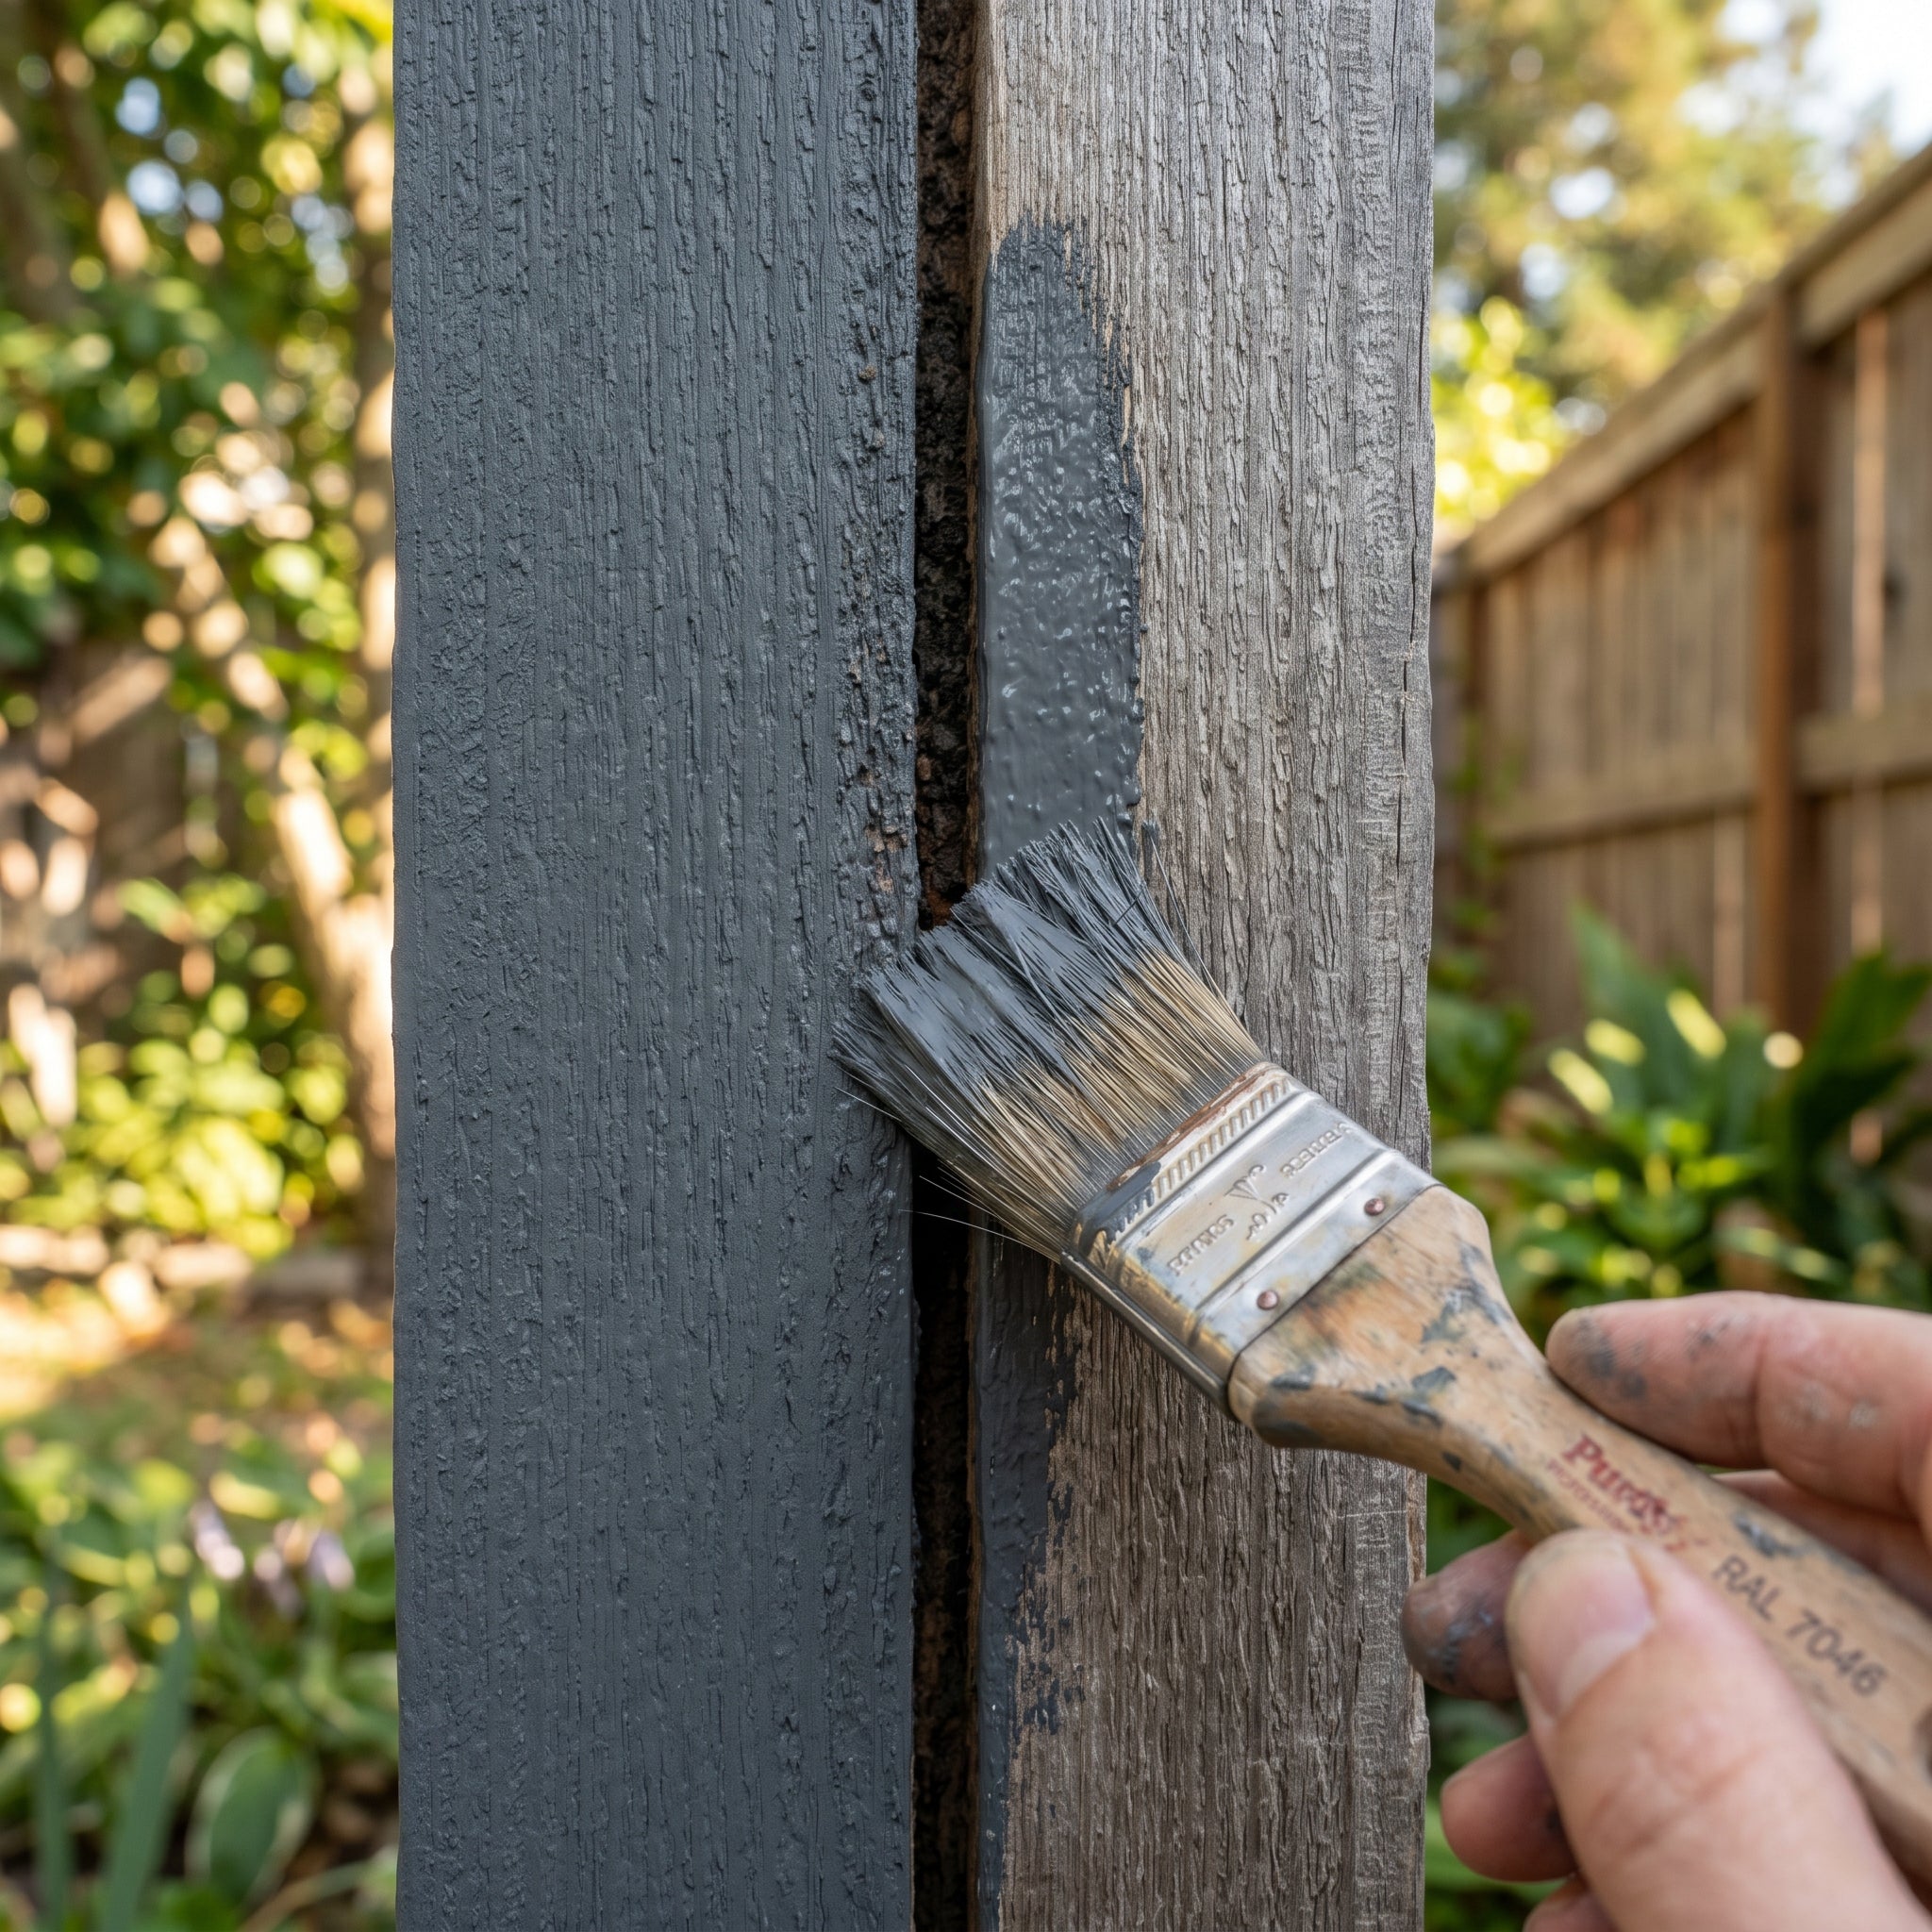
Apply diluted with up to 5 % water (up to 10 % with airless sprayer) — that way the first coat penetrates the wood fibres and forms the bonding base. Work with brush or lambswool roller in the grain direction. Consumption 150–250 g/m² (wood is absorbent).
Particularly careful at cut edges and joints — these areas are weather-prone.
Pro tip: On vertical wooden boards (fence, facade) work top to bottom and spread out drips immediately — otherwise streaks form that can't be fixed later.
Patience pays off.
Cure for at least 4 hours at 23 °C / 50 % RH. Wait longer at higher humidity or lower temperatures (up to 8 h). The first coat must be completely dry through, otherwise the second won't hold.
Protect wood from rain during drying — for outdoor application stretch a tarpaulin or postpone work to dry weather.
Pro tip: On strongly absorbent or dark wood the first coat often looks very matt — no concern, the second coat creates the final finish.
The final armour.
Apply undiluted, in the grain direction. Consumption 100–200 g/m². Rain-resistant after 6 h (manufacturer specification), carefully loadable after 24 h, fully load-bearing and cured after 28 days.
On heavily stressed areas (wooden fence facing the street, wooden facade weather side) a third coat is recommended — refurbishment then in 5–7 years instead of 3–4.
Pro tip: Touch up cut edges and post feet annually with a thin coat — these are the first weak points and so double the service life of the whole coating.
On heavily greyed or algae-infested wood, pre-treat with a wood de-greyer or algae remover and let dry thoroughly. Never apply on pressure-treated wood under 6 months of age — impregnation agents must outgas first.
Enter your area and desired number of coats — we recommend the optimum tub combination.
Standard: 2 coats. 3 for heavily exposed surfaces.
Consumption: 200 g/m² per coat. +10 % buffer for offcuts and uneven surfaces. For larger projects (> 80 m²) contact us for individual advice.
Recommendation
—
Calculating…
Free shipping from £170 — review your basket after adding.
Browns and yellow-browns work in harmony with natural timber. Black and anthracite for a modern look. White for a Scandinavian feel.


The same elastic liquid-rubber coating for many more applications — explore all use cases.

waterproof

paint

waterproof
waterproof

Exterior paint
paint
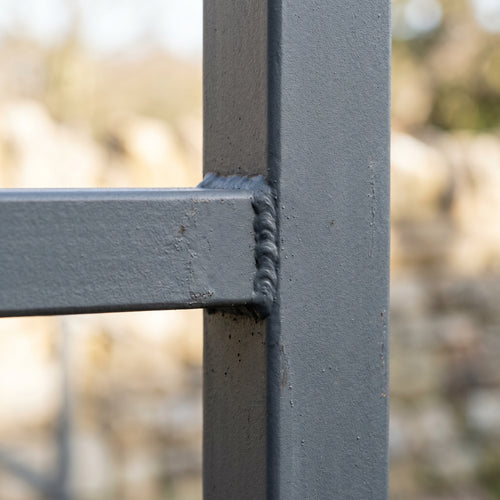
Rust protection
Coating
Our technical team advises on complex applications, substrate analysis and film-thickness calculation.