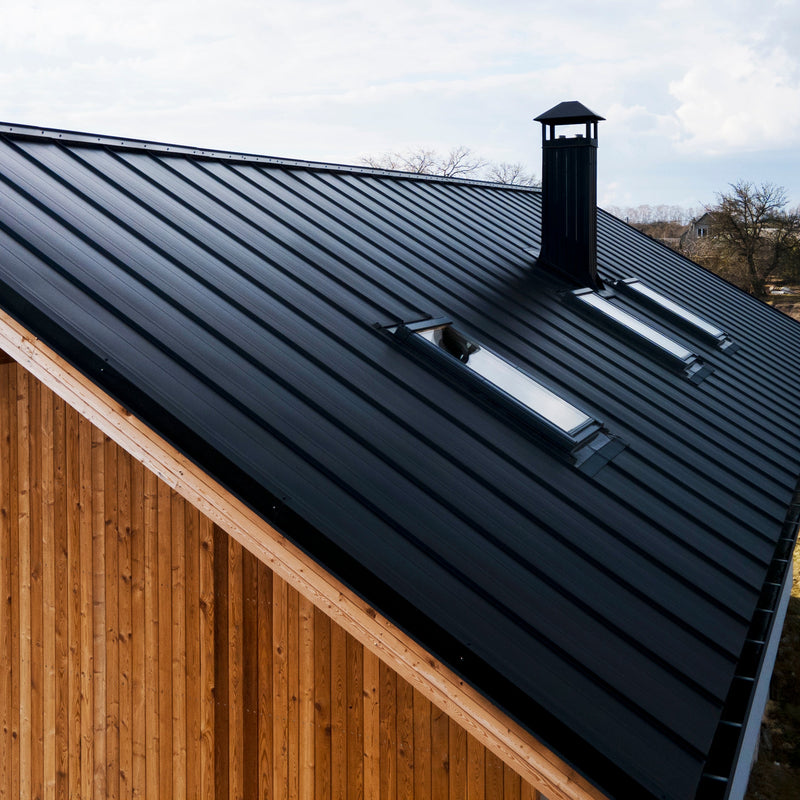
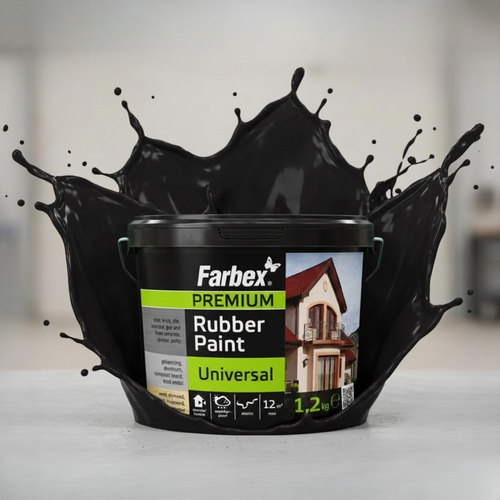
How to Apply Rubber Paint on Roofs: A Step-by-Step Guide

Applying Rubber Paint to Your Roof: A Step-by-Step Guide
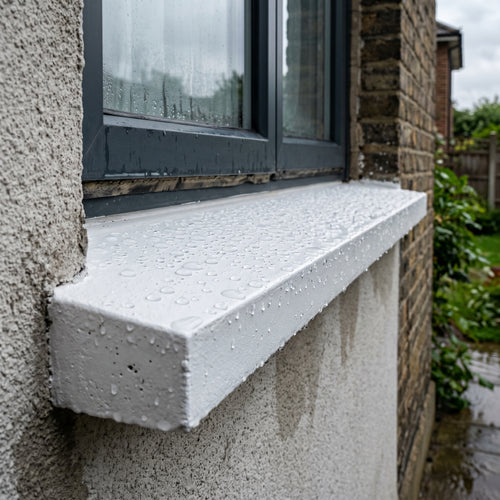
Applying rubber paint to your roof can be an excellent way to ensure long-term protection and enhance the aesthetic appeal of your home. Proper application is key to achieving high-quality results. In this article, we will walk you through the process of correctly applying rubber paint to your roof and achieving the best possible outcome.
Preparation:
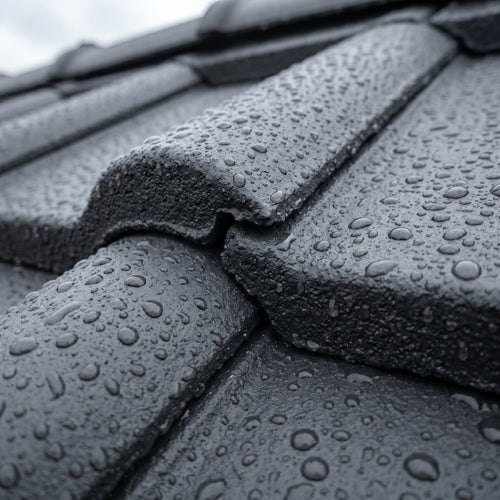
Before applying rubber paint, it’s important to ensure proper roof preparation. Remove all dirt, such as dust, grime, or lichens, using a pressure washer. Make sure the roof surface is clean, dry, and free from any damage.
Protecting Surroundings:
Before applying rubber paint, it’s advisable to protect the areas surrounding the roof. Cover nearby surfaces such as facades, windows, or garden plants that could be damaged by the paint. Use tarps or protective covers to safeguard the surroundings from splashes or paint runoff.
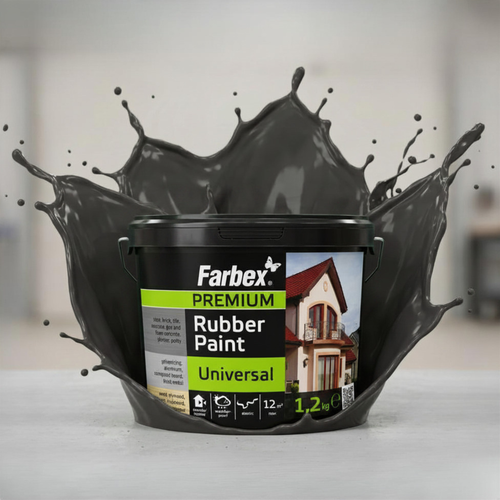
Applying Rubber Paint:
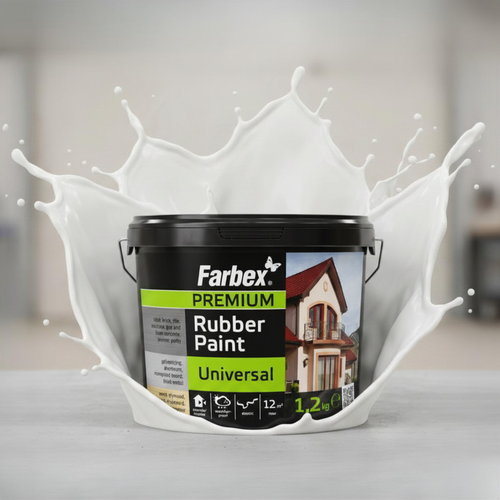
Before application, thoroughly mix the product. Then, you can start applying. There are various ways to apply rubber paint, such as using a brush, roller, or spray gun. Choose the method that works best for you.
-
With a Brush: If you choose to use a brush, begin applying the rubber paint from one end of the roof and work towards the other end. Use even brush strokes to ensure the entire roof surface is covered. Make sure to apply a sufficient layer of paint to provide protection and durability. Once the first layer dries, apply a second layer in the same manner.
-
With a Roller: If you opt for a roller, apply the paint in vertical or horizontal movements to achieve even coverage. Choose a roller with the appropriate nap length for your type of roof. Once the first layer dries, apply a second layer in the same way.
-
With a Spray Gun: Using a spray gun can be an efficient method for covering larger roof areas. Ensure the spray is properly adjusted for optimal paint distribution and follow the manufacturer’s instructions.
Drying Time and Additional Layers:
After completing the first layer of rubber paint, it’s important to follow the recommended drying time of about 2 hours or more. You can then apply another layer of paint if desired. Repeat the application process and make sure to follow the drying instructions between layers.
Maintenance:
After applying rubber paint, it’s important to regularly inspect the roof and perform any necessary maintenance. Remove any debris and ensure that drainage systems are clear and functional. Regular maintenance helps keep the roof in optimal condition and extends its lifespan.
Conclusion:
Proper application of rubber paint is essential for providing quality protection and an attractive finish to your roof. By following the preparation, protection, and application steps, you can achieve the best possible results. Also, remember to perform regular maintenance after applying rubber paint to keep the roof in optimal condition.
Vojte Zogata
Technical editorial · RubberPaint