Water to neighbour or living space
Cracks in the balcony surface let rainwater through. Damage often only shows up months later as water stains on the ceiling below — by which point the insulation is already soaked.
RUBBERPAINT
local_shipping
Free shipping from £199.00
trending_up
Only £199.00 until free shipping!
check_circle
Free shipping unlocked! 🎉
bolt
Shipping in 24 h after payment
Elastic coating for balconies and terraces of concrete, screed or tiles. Walk-on after 24 h, frost-resistant, with optional anti-slip effect. Stops water ingress into the living spaces below.
Liquid rubber for balconies and terraces forms a seamless, elastic protective layer — crack-bridging, waterproof and UV-stable (−20 °C to +50 °C). Apply in 2–3 coats over concrete, screed or existing tiles. Walk-on as a finished surface, or use as a bonded waterproofing layer (ETAG 022) beneath new tiles.
Balcony damage shows up at the neighbour below first — water stains on their ceiling. By then your own building fabric is usually already affected. Refurbishment without a specialist firm gets expensive.
Cracks in the balcony surface let rainwater through. Damage often only shows up months later as water stains on the ceiling below — by which point the insulation is already soaked.
Water that has penetrated expands by 9% when it freezes. Tiles lift, screed crumbles — typically at the edges where the balcony meets the house wall and at upstands.
Road salt destroys untreated concrete in winter. The salt solution seeps into pores, crystallises on freezing and spalls the material from the inside. After 5–8 years the substance is often completely worn out.
Back in use quickly — you can walk carefully on the balcony one day after application. Full load-bearing capacity after 28 days.
Adding quartz sand to the final coat creates a slip-resistant surface — ideal for balconies used by children or exposed to winter frost.
Water no longer penetrates — so there is nothing to expand and shatter the surface when it freezes. Tested for British and Central European weather across hundreds of freeze-thaw cycles.
Stays flexible even in full summer sun — no embrittlement, no cracking. Unlike traditional bitumen coatings, which go hard and brittle in the heat.
Clean existing tiles or concrete.
Pressure washer (min. 100 bar) — remove old algae, moss, road-salt residue and loose particles. Fill cracks in screed or concrete with elastic repair filler — cracks > 0.5 mm become leak spots later. Renew defective tile joints with sanitary silicone; re-glue any loose tiles first.
For heavily damaged substrate: re-lay the screed and let it cure for at least 28 days — residual moisture must be below 4 % before coating.
Pro tip: Test absorbency with the water-drop test — if water soaks in within 30 seconds, the substrate is ready.
The critical transition to the house wall.
Pre-bend polyester fleece (60 g/m²) into a U-shape: 5 cm on the balcony floor, 10–15 cm up the house wall. Embed into the wet first coat, press flat with a roller — no air bubbles. Also reinforce around drains, skylights and balustrade fixings — these detail points cause 80 % of all leaks.
At the wall-to-floor transition work the fleece carefully into the inside corner — the coating should run up seamlessly.
Pro tip: Pre-condition fleece for 24 h before use — unroll at room temperature so it doesn't shrink back later.
Diluted with 5 % water.
Apply with lambswool roller (short nap, 10 mm) or wide brush. Consumption 100–200 g/m², thin layer in a single pass. Particularly careful on upstands and in corners — these must be sealed without gaps. Press fleece-reinforced spots repeatedly until the fleece is fully saturated and shows through.
Above 25 °C or in direct sun: work before 11 a.m. or after 4 p.m. — otherwise the coat dries too quickly on the surface.
Pro tip: Start on the side opposite the balcony door and work backwards — that way you never walk on a freshly coated area.
Let the first coat cure.
At 23 °C and 50 % humidity at least 4 hours, longer in cooler weather (up to 8 h). Test: the coat must no longer be tacky to finger pressure. Protect the balcony from rain and direct sun throughout drying — stretch a tarpaulin over the railing if the weather is uncertain.
The first 24 hours are critical — precipitation can soften the coat and leave water marks.
Pro tip: In high humidity (above 70 %), set up a dehumidifier or apply the next coat the following day — patience delivers the better result.
Undiluted, with anti-slip option.
Apply undiluted, cross to the first coat. Consumption 100–200 g/m². For a slip-resistant finish: sprinkle fine quartz sand (0.3–0.5 mm) evenly into the still-wet coat, let dry for 24 h, sweep off loose grains, then a third thin coat as a sealer. Slip rating reaches R10 (recommended for residential balconies).
Fully load-bearing after 28 days — don't place heavy furniture or planters before then.
Pro tip: Apply quartz sand evenly through a flour sieve, not straight from the bag — otherwise you get clumps and uneven slip resistance.
Upstands and transitions to the house wall are the weakest spot of every balcony — 80 % of all leaks start here. Embed polyester fleece (60 g/m²) into the wet first coat, pull it at least 15 cm up the wall. This prevents cracks from differential movement between balcony and house wall. (Processing recommendation from rubber-paint.de — not part of manufacturer specification.)
Measure the floor area plus a 50 cm upstand against the house wall. For the anti-slip option you will need a third coat.
Standard: 2 coats. 3 for heavily exposed surfaces.
Consumption: 150 g/m² per coat. +10 % buffer for offcuts and uneven surfaces. For larger projects (> 80 m²) contact us for individual advice.
Recommendation
—
Calculating…
Free shipping from £170 — review your basket after adding.
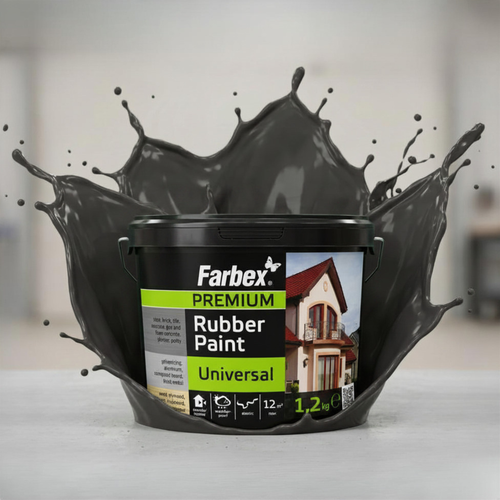
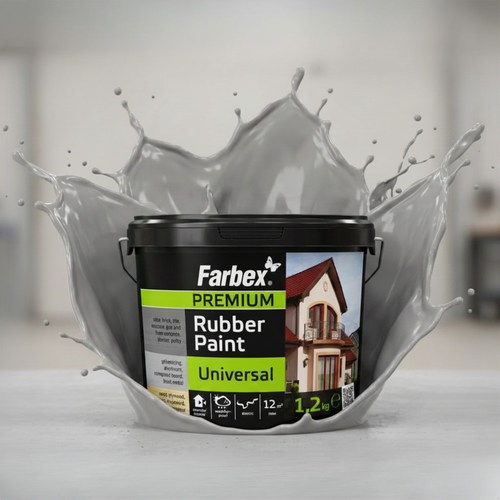
Anthracite and grey dominate modern balcony refurbishments — they hide dirt and match any house colour. Beige and brown for a Mediterranean look, black for an industrial-loft feel.
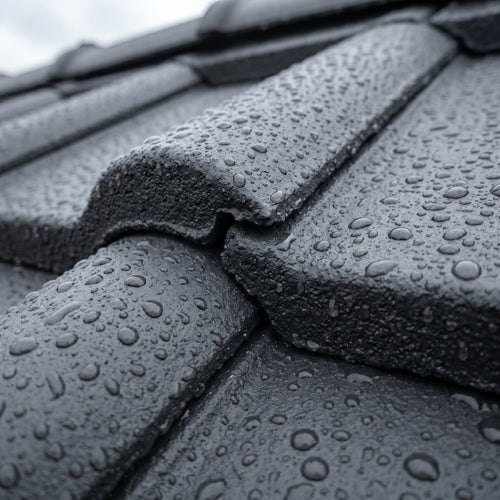
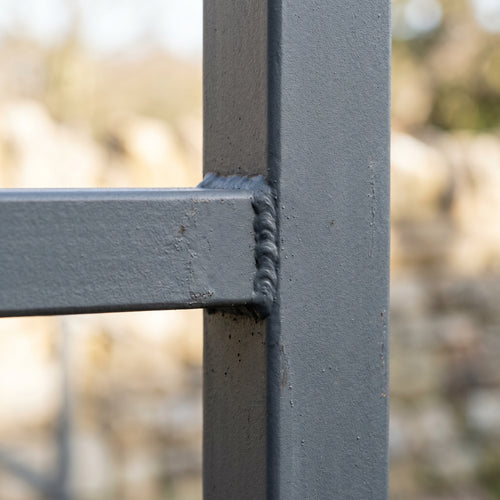
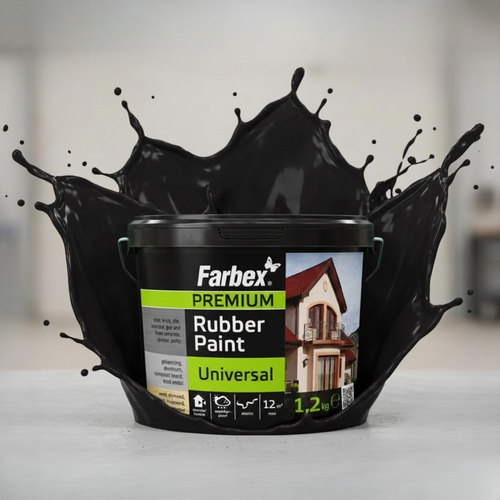
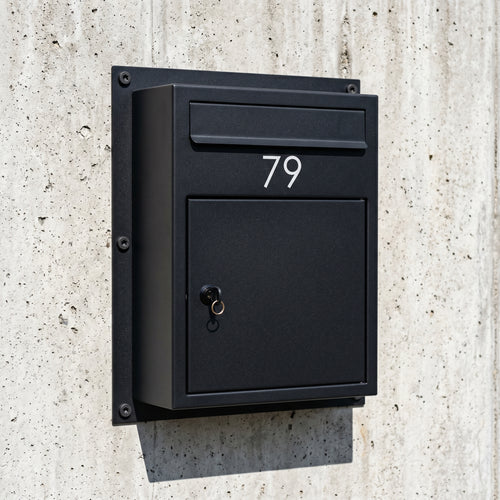


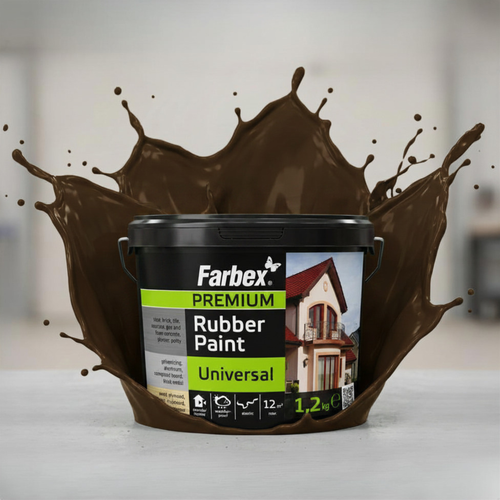
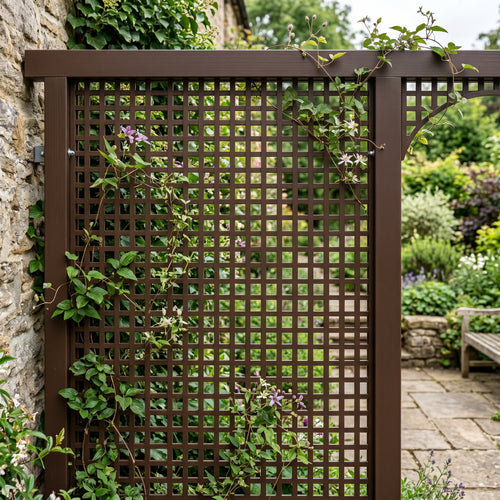
The same elastic liquid-rubber coating for many more applications — explore all use cases.
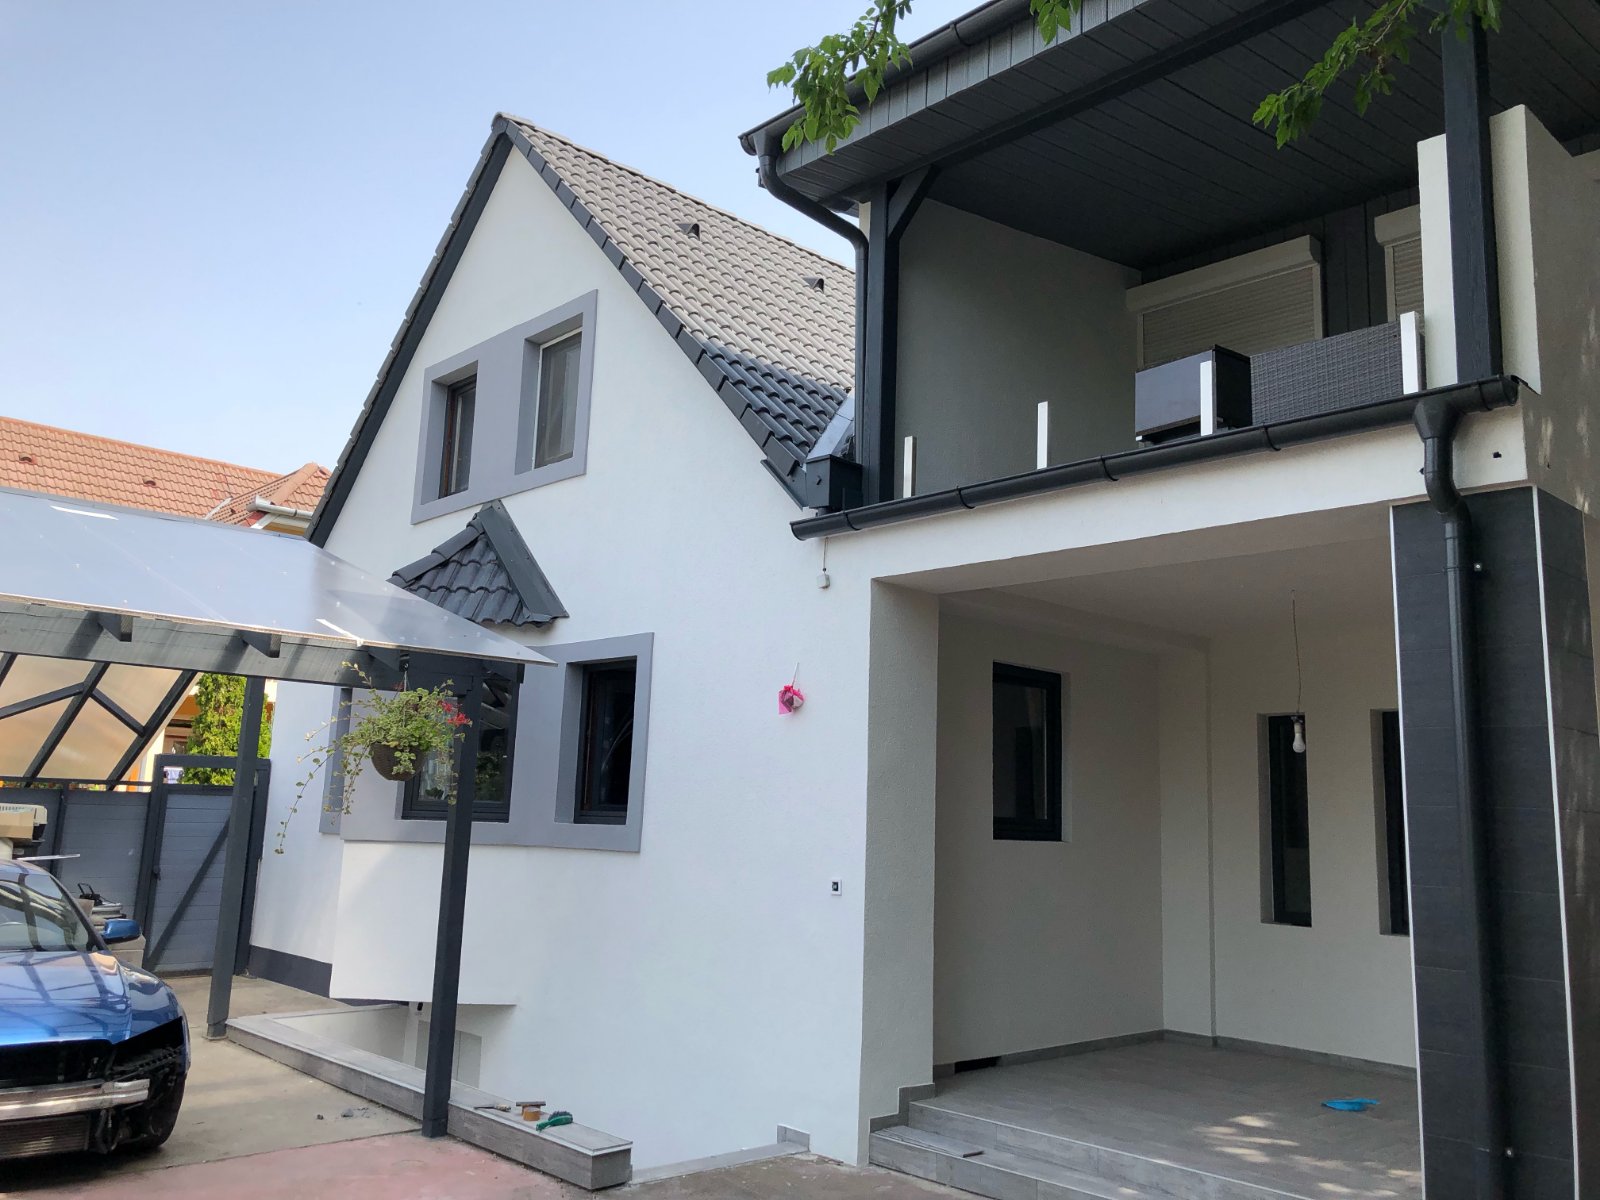
waterproof
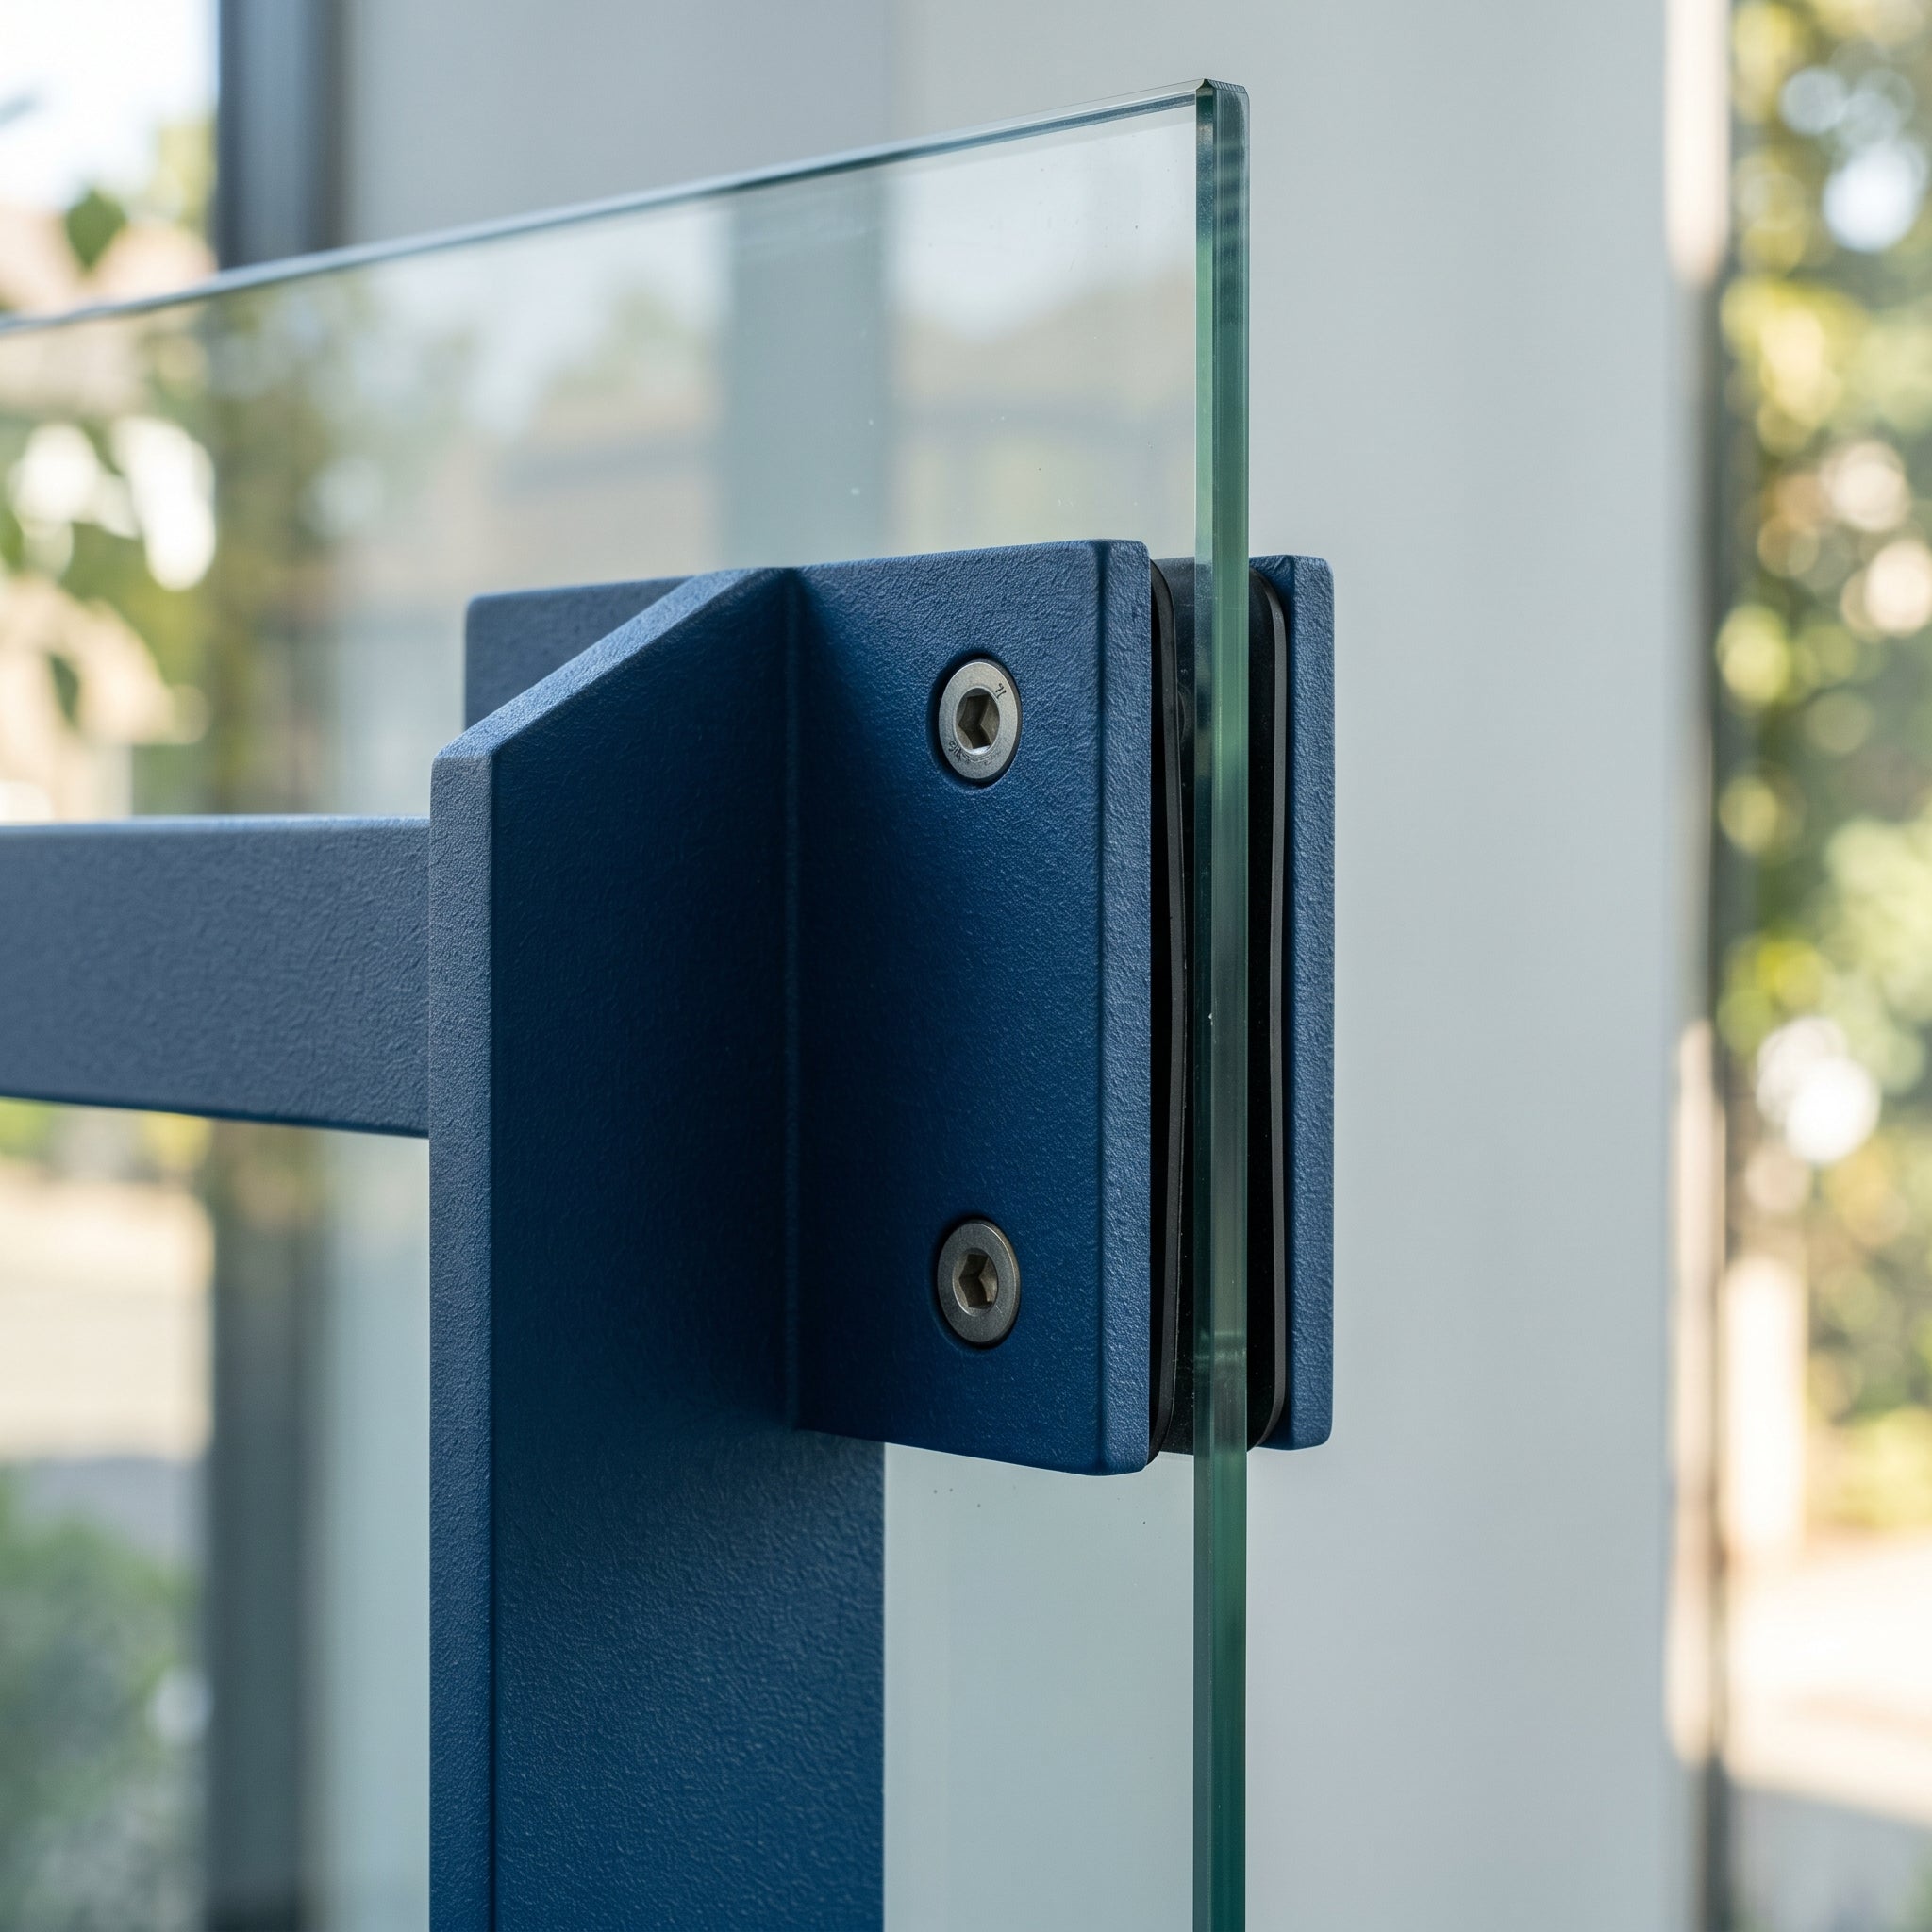
paint
waterproof
waterproof

Exterior paint
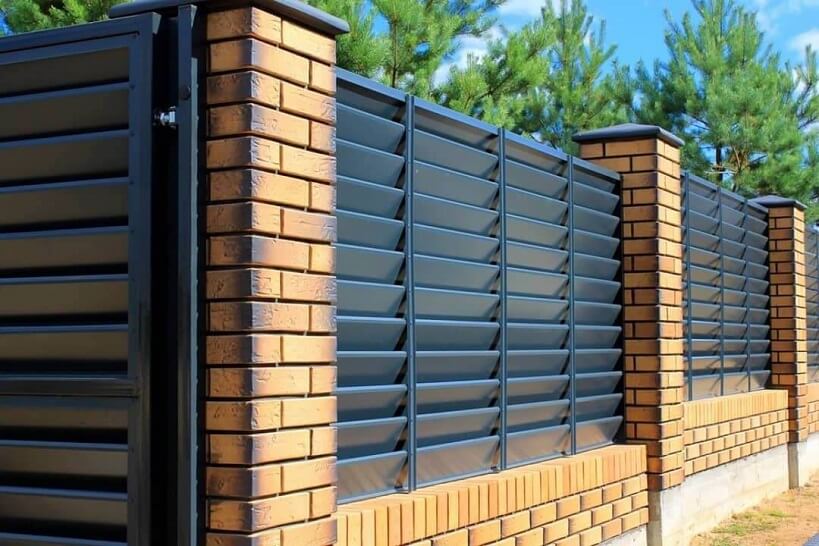
paint
Rust protection
Coating
Our technical team advises on complex applications, substrate analysis and film-thickness calculation.