Waterproofing a Basement Wall from Outside — Full Guide
In short: waterproofing a basement wall from the outside is the only method that keeps the masonry permanently dry — from the inside, the water just keeps coming back. With cold-applied liquid rubber you can build a seamless 3-coat system without heavy machinery, without hot bonding and without cementitious slurry. Material costs come to around £4–7/m², and the job can be done with a roller and brush over two weekends.
When does external waterproofing make sense?
Damp patches in the basement, salty efflorescence on the wall or a musty smell are all symptoms of ground moisture actively soaking into the masonry. The German standard DIN 18533 (waterproofing of building elements in contact with soil) treats external waterproofing as the standard solution in such cases — for a simple reason: water pushes in from the outside. Internal waterproofing only shifts the problem into the masonry instead of solving it.
In practice, the effort pays off if you see these signs:
- Visible tide marks up to about 50 cm above the floor slab
- Salt crusts (saltpetre) on the lower part of the wall
- Plaster coming away from the wall or crumbling
- High indoor humidity despite ventilation (a typical problem in converted basements)
External waterproofing vs. internal waterproofing vs. drainage
Three approaches compete, but only one tackles the root of the problem:
- External waterproofing: permanently separates water from the masonry. Highly effective, a one-off renovation, long-lasting (> 30 years).
- Internal waterproofing: traps the water inside the masonry. Short-term cosmetics; in the long run it damages the structure.
- Drainage: carries water away through drain pipes. Useful as an addition — but no substitute for waterproofing.
If you're wondering which material is better suited, take a look at our comparison Liquid rubber vs. bitumen — it goes into application properties and service life in detail.
Why liquid rubber instead of cementitious slurry or bitumen membrane?
Traditional solutions have weak points that matter especially in a basement:
- Cementitious slurry is rigid. When settlement cracks appear it stops working — and basements do move (floor slab, freeze-thaw cycles, building settlement).
- Bitumen membranes have to be torch-welded. Hot, dangerous, and hard to get watertight at corners and junctions.
- Liquid rubber is applied cold, cures into an elastic membrane, bridges cracks up to about 2 mm wide and is seamless — including at external corners, junctions and the plinth.
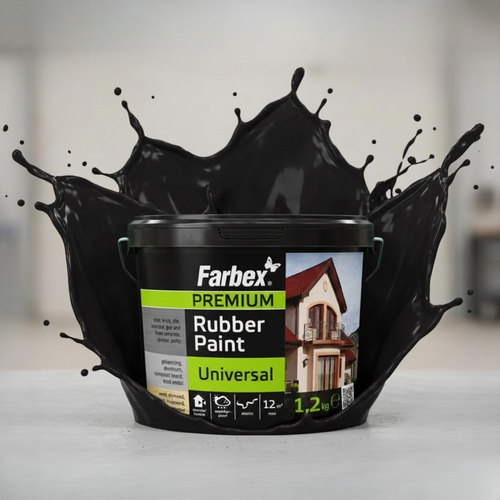
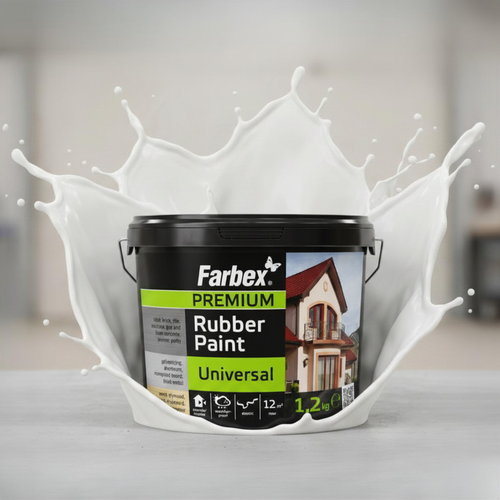
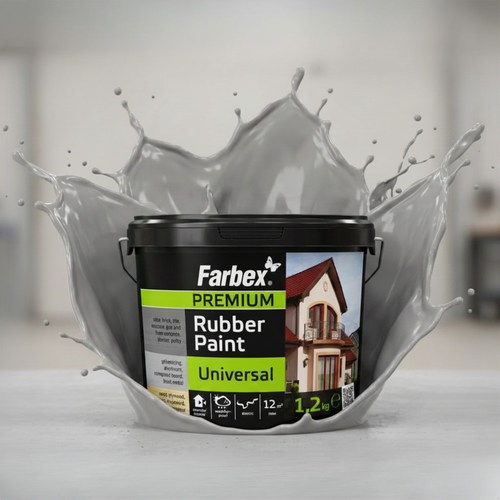
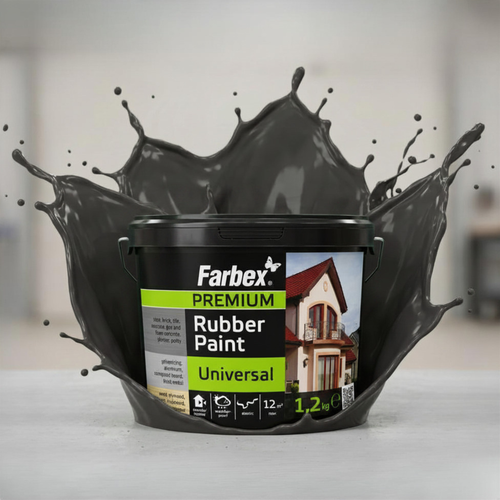
Specifically, we recommend RubberPaint Universal in Black (RAL 9005) for external waterproofing. Black is UV-stable, goes a long way (about 1 kg per 2 m² with two coats) and is invisible once in contact with the soil.
Preparation: excavation, cleaning the surface, filling cracks
Even the best coating fails on a poor surface. Allow more time for preparation than for the painting itself.
1. Excavation
Dig the wall free to about 20 cm below the floor slab. Working space: at least 60 cm wide, so you can work comfortably with a roller and brush. For a terraced house with about 8 m of wall, that's a very manageable weekend project for two people.
2. Cleaning the surface
Loose plaster, old bitumen coatings and salt efflorescence all have to go. A wire brush, scraper and pressure washer are your tools. Important: the surface must be matt-dry before you coat it. No waterproofing will hold on residual moisture.
3. Filling cracks and defects
Cracks wider than 0.5 mm are filled with a cement-based repair filler. At internal edges (the junction between wall and floor slab), model a cove fillet with a 4–5 cm radius — it prevents stress peaks in the coating later on. Let the filler cure for at least 24 hours.
The 3-coat system with liquid rubber
Professional external waterproofing doesn't consist of one thick coat, but of three thin ones — each with its own job:
Coat 1: primer (thinned)
Thin the liquid rubber (also called rubber paint, rubberised paint or flexible coating) with max. 5 % water and roll it on generously. The material soaks into the capillaries of the masonry and improves the adhesion of the following coats. Consumption: approx. 200 g/m². Drying: 4–6 hours at 20 °C.
Coat 2: reinforcement
Apply a fresh second coat undiluted (approx. 500 g/m²) and immediately embed a reinforcing fabric (e.g. glass-fibre fleece, 110 g/m²). The fabric takes up mechanical loads and keeps cracks permanently bridged. At the plinth and floor slab, junctions are worked in here with an overlap of at least 10 cm.
Coat 3: top coat
Once the reinforcement coat has dried through (at least 24 hours), apply the final top coat — again undiluted, approx. 500 g/m². It fully encloses the fabric and forms the final surface that stands up to UV and mechanical loads.
Total consumption: around 1.2 kg/m². For 24 m² of external wall (a typical detached house, basement side), that's about 29 kg of material — five 6 kg tubs.
Sealing junctions properly
Junctions are where waterproofing fails most often. These spots need particular attention:
- Wall to floor slab: model a cove fillet and embed reinforcing fabric as a strip (at least 20 cm wide). The junction must never be a 90° internal edge.
- Plinth to below-ground wall: take the waterproofing at least 30 cm above the future ground level. You can finish the top edge later with plinth paint in any RAL colour — see our plinth overview.
- Penetrations (pipes, cables): wrap them with fabric strips and carry the coating over with an overlap of at least 10 cm.
What does DIY basement waterproofing cost?
A realistic cost estimate for 24 m² of wall:
- Liquid rubber (5× 6 kg): approx. £345
- Reinforcing fabric (30 m²): approx. £30
- Filler + tools (rollers, brushes, buckets): approx. £50
- Total material costs: approx. £425 (around £18/m²)
A specialist contractor typically charges £70–130/m² for the same job — i.e. £1,650–3,100 for the same area. The excavation, as the biggest item, is the same in both scenarios; the real saving lies in the working hours you take on yourself.
Common mistakes & pro tips
- Don't paint onto a damp surface. Residual moisture prevents the coating from curing properly — it flakes after a few weeks. Rule of thumb: the wall must look matt-dry; dark patches mean wait.
- Stick to the coat thickness. One thick coat is not better than three thin ones. When overcoated too heavily, the material cracks while curing.
- Pro tip: if the outside temperature rises above 25 °C, lightly dampen the masonry before applying the first coat — this stops the primer from being drawn in too quickly.
- Backfilling: only backfill the trench after at least 7 days of curing — ideally with a drainage board as mechanical protection.
What next?
Properly waterproofing a basement with liquid rubber saves you thousands compared with a contractor — and, applied correctly, it lasts for decades. If you want to get your materials ready, our waterproofing basement walls from outside page gives you a compact overview including a quantity calculator and matching products.
Related guides:
- Seal a Flat Roof with Liquid Rubber — Step by Step
- Liquid Rubber vs. Bitumen — The Honest Comparison
- General application guide for RubberPaint
See materials for basement waterproofing →
Related terms: Our product is sold in DIY stores and the trade under several names — liquid rubber, liquid rubber paint, liquid membrane, rubber paint, rubberised paint, flexible coating, elastic exterior paint or polymer coating. They all mean the same product: a waterproof, highly elastic coating based on acrylic latex.
RubberPaint EU Team
Technical editorial · RubberPaint