Repairing Flat Roof Cracks Without a Torch

Repairing cracks on a flat roof without using a torch is the safe, cold and DIY-friendly answer to one of the most common UK home maintenance problems. Old bitumen felt develops cracks and surface fractures from 12 years onwards — and traditional repair requires either a roofer with a propane torch or a complete strip-and-recover. Liquid rubber crack repair bridges hairline and structural cracks with a cold-applied elastic membrane, often extending the felt's working life by another 10 years.
What kinds of cracks can be fixed cold
- Hairline surface cracks (under 0.5 mm) — direct coating over the affected area, no reinforcement needed
- Linear cracks 0.5–3 mm — coating bridges directly; reinforcement mesh recommended for movement zones
- Seam separations 3–8 mm — fill with appropriate sealant first, then over-coat with reinforced membrane
- Structural cracks > 8 mm — these indicate substrate movement requiring engineering assessment first
Required materials
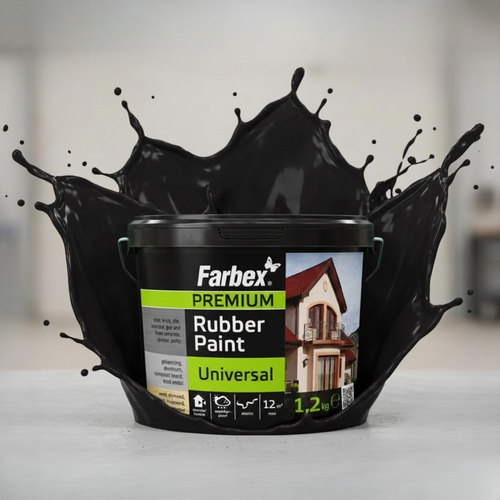
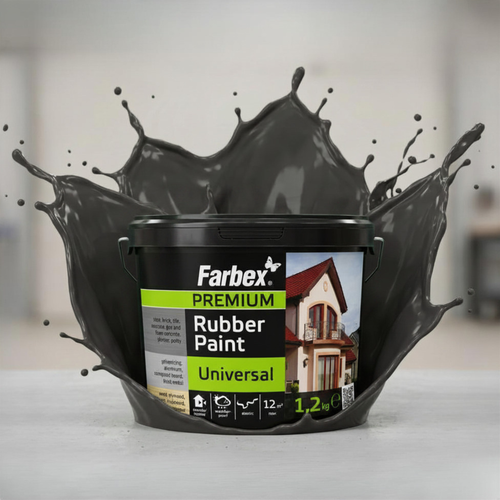
- Liquid rubber — about 200 g/m² per coat × 2 coats = 0.4 kg/m² total in the repair area, plus 30 cm overlap onto sound felt either side
- Reinforcement mesh — polyester fabric or fibreglass mesh, 150 mm wide for typical seam repair
- Crack filler for any gaps > 3 mm — quick-curing waterproof sealant
- Cleaning materials — stiff brush, pressure washer, white spirit for grease spots
Step-by-step cold crack repair
- Inspect — identify all crack locations. Mark with chalk so you can find them after cleaning.
- Clean thoroughly — sweep loose granules, pressure-wash, allow 48 hours to dry completely.
- Fill larger gaps with crack filler — anything wider than 3 mm. Allow filler to cure per manufacturer's instructions.
- Apply first coat of liquid rubber over the crack zone plus 100 mm onto sound felt either side. 200 g/m².
- Embed reinforcement mesh into the wet first coat. Press flat with a brush, smoothing out any wrinkles.
- Allow first coat to dry — 4 hours minimum, longer in cool conditions.
- Apply second coat over the mesh — 200 g/m². The mesh should be fully embedded, no fabric visible through the cured film.
- Rain-fast in 24 hours, fully cured at 28 days.
When to repair vs replace
Localised cracks in otherwise sound felt: repair with liquid rubber and mesh. The repair lasts the remaining lifespan of the felt plus another 8–10 years.
Multiple cracks across the whole roof, or felt that's become brittle and grey: full overlay with liquid rubber as a complete refurbishment. See the Flat roof sealant landing page for the full overlay approach.
Structural cracks larger than 8 mm or signs of substrate movement: engineering assessment before any cosmetic repair. The cracks themselves are symptoms — the underlying cause needs addressing first.
Next steps
For full flat-roof refurbishment over old felt see Flat roof sealant. For EPDM membrane comparison see Liquid rubber vs EPDM.
RubberPaint EU Team
Technical editorial · RubberPaint