How to Rubberise a Flat Roof — Complete DIY Guide

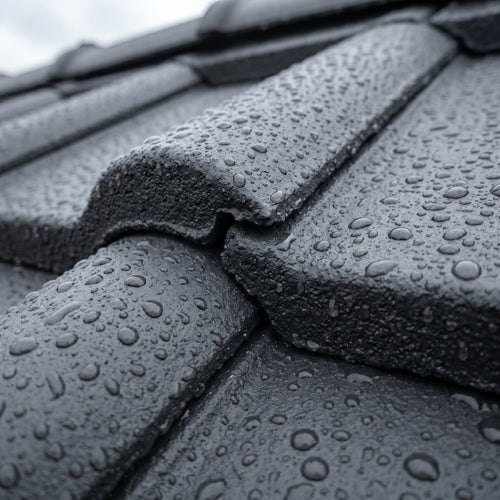
To rubberise a flat roof means to apply a flexible, waterproof rubber-based membrane over the entire roof surface — sealing leaks, restoring waterproofing, and protecting the underlying structure from UV, frost, and thermal movement. With modern liquid rubber paint, this is a DIY job that can be completed in a single weekend, without an open flame and without specialist equipment.
This guide walks through the complete process: when rubberising makes sense, how to prepare the surface, how to apply the coating, and what results to expect over a 15-year life cycle.
When does it make sense to rubberise a flat roof?
- Existing bitumen roof is showing age — minor cracks, blisters, surface chalking, but the underlying structure is sound
- You want to extend roof life by 10–15 years without the cost of a complete replacement
- The roof has minor leaks at seams or junctions — rubberising creates a seamless membrane that closes those gaps
- You're on a carport, garage, garden room, or outbuilding — small to mid-sized flat roofs are ideal candidates
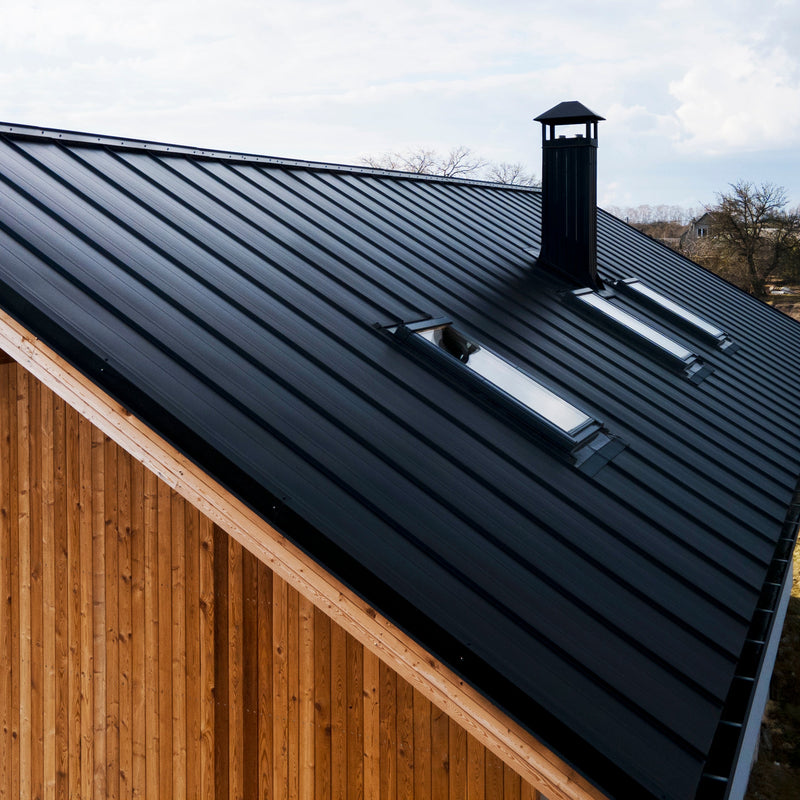
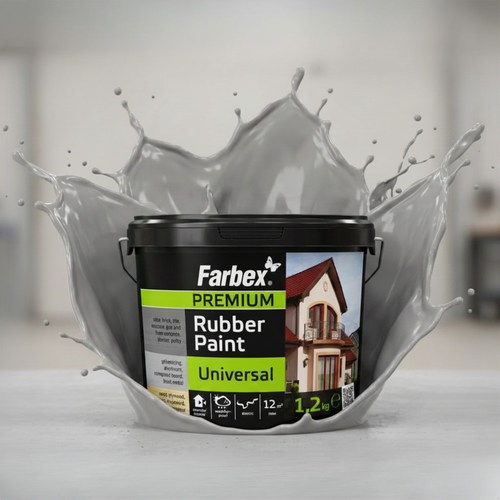
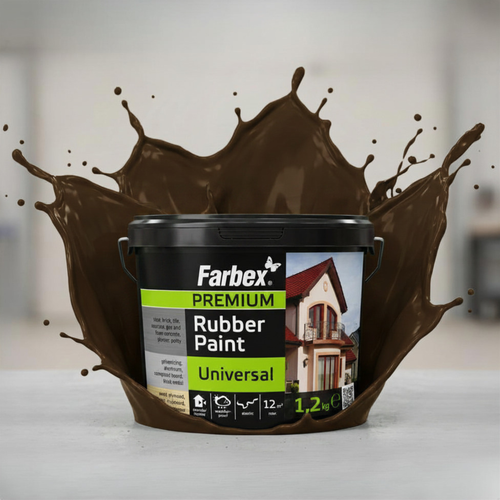
- You need a brand new colour (white for Cool-Roof effect, or grey/anthracite for aesthetics)
Rubberising is not recommended for: roofs with severe structural damage, areas of standing water deeper than 25 mm, or roofs with EPDM seams that have failed completely (these may need patching first).
What you'll need
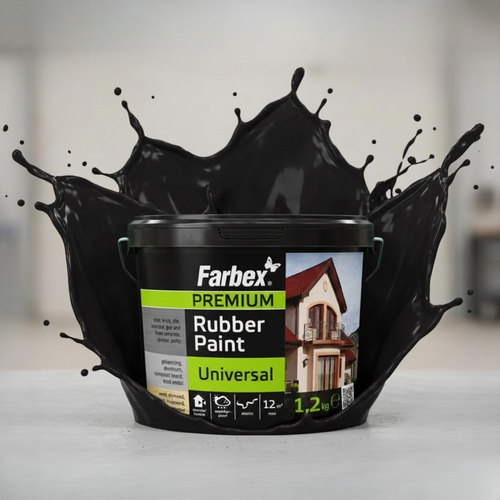
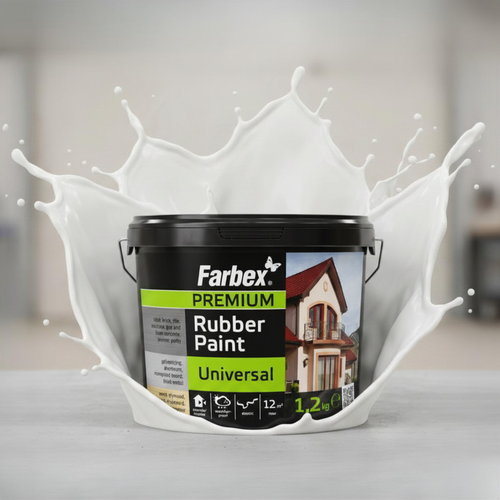
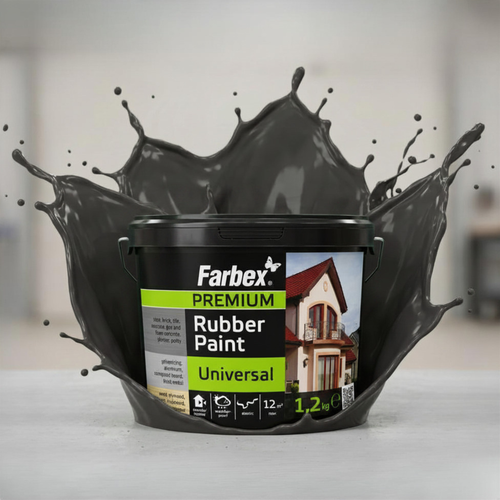
- Liquid rubber paint (allow 0.3 kg/m² for two coats — so 30 kg for a 100 m² roof)
- High-pressure cleaner (max 120 bar)
- Wire brush for loose material
- Lambswool roller (12–18 mm pile) or airless sprayer (15–18 MPa, nozzle 0.019"–0.023")
- Brushes for edges and details
- Polyester reinforcement fleece (60 g/m²) for seams and junctions
- Sealant or fibre-reinforced filler for cracks > 3 mm
Step 1: Inspect the roof
Walk the roof and note:
- Cracks and blisters in the existing bitumen or felt
- Loose stones or chippings (older bitumen roofs often have a gravel finish)
- Areas of pooling water (might need a slight regrade)
- Condition of edge trims and parapet flashings
- Chimney bases, vent pipes, and rooflight junctions
Anything structurally compromised needs repair before rubberising. Liquid rubber is excellent at sealing minor surface defects but cannot fix a sagging deck or a rotten rafter.
Step 2: Clean thoroughly
Power-wash the entire surface at moderate pressure (max 120 bar). Remove:
- Moss, algae, and lichen
- Loose gravel and chippings
- Bird droppings and organic debris
- Loose bitumen flakes
If the roof was previously coated with a degrading paint, brush off the loose flakes with a wire brush. Allow 24 hours for the surface to dry completely before applying liquid rubber.
Step 3: Reinforce seams and details
This is the single most important step — over 80% of roof failures happen at junctions and seams, not in the open field.
For each seam, internal angle, chimney base, vent pipe collar, and roof-light junction:
- Apply a heavy coat of liquid rubber along the detail
- Embed polyester reinforcement fleece (60 g/m²) directly into the wet rubber
- Push down with a brush to ensure full saturation — no air bubbles
- Apply a second wet coat on top of the fleece to fully encapsulate it
- Overlap fleece pieces by at least 50 mm
This creates a reinforced, watertight detail that flexes with thermal movement.
Step 4: First coat (priming)
Apply the first coat with 5–10% added water to improve penetration into the existing surface. Use:
- Roller for the open field — fastest and most even
- Brush for cut-ins at edges, parapets, and around details
- Airless sprayer for very large roofs (over 100 m²) — fastest method but requires masking
Consumption: about 150 g/m² of mixed product. Wait at least 4 hours before the second coat (24 hours if temperatures are below 15 °C or humidity is high).
Step 5: Second coat (full coverage)
Apply the second coat undiluted, working at right angles to the first coat. This cross-application ensures complete coverage with no thin spots.
Consumption: again about 150 g/m². Total dry-film thickness after both coats is 0.5–0.8 mm — equivalent to a thin rubber sheet.
Step 6: Cure and protect
Drying and curing times at 23 °C / 50% RH:
- Touch-dry: 2 hours
- Rain-resistant: 6 hours
- Light foot traffic: 24 hours
- Full mechanical resistance: 28 days
Avoid heavy foot traffic, leaning ladders, or scraping for at least a week. Do not apply if rain is forecast within 6 hours, or if temperatures will drop below +5 °C overnight.
What to expect after rubberising
- Year 1: No change. Roof looks like new.
- Years 5–10: Slight matting on south-facing slopes possible. No cracking, no chalking.
- Year 15: Time for a refresh — but only a single recoat is needed, no scraping or sanding. The existing rubber layer accepts new liquid rubber directly.
Common mistakes to avoid
- Skipping the seam reinforcement — saves an hour today, costs a leak in two years
- Applying when surface is damp — water trapped under the membrane causes blistering
- Single thick coat instead of two thin coats — single coats crack as they cure
- Skipping the cleaning step — liquid rubber cannot bond to a dirty or oily surface
- Diluting the second coat — keep it undiluted for maximum film thickness
Cost example
For a typical 30 m² carport flat roof:
- Liquid rubber: 9 kg (3 × 3 kg buckets) — approximately €100
- Reinforcement fleece: 5 m — €15
- Cleaning and tool rental: €20
- Total: about €135 in materials
Compare to a professional EPDM membrane installation: €60–80 per m² installed, so a 30 m² roof = €1,800–2,400. The DIY rubberising costs about 6% of that — and lasts the same 15+ years.
FAQ
Can I rubberise over an existing EPDM membrane?
Yes — clean the EPDM thoroughly, lightly abrade with a scuff pad, and apply liquid rubber. This restores UV protection and adds 10+ years of life.
Will it bond to wet concrete?
The concrete must be at least surface-dry. Damp concrete (just rained) is OK; soaked concrete (standing water) is not.
What's the warranty?
Manufacturer warranties for liquid rubber typically run 10 years, but real-world performance regularly exceeds 15 years when applied correctly.
Conclusion
Rubberising a flat roof is one of the most cost-effective DIY repair projects in home maintenance. It seals existing leaks, prevents new ones, restores aesthetics, and adds 10–15 years to your roof's life — all for a fraction of the cost of replacing the roof entirely.
See products: Liquid rubber paint in 14 colours →
RubberPaint Team
Technical editorial · RubberPaint