Waterproofing a Balcony Without Removing Tiles — DIY Guide
In short: you can waterproof your balcony without ripping out the old tiles. Two thin coats of liquid rubber create a seamless, elastic seal directly on top of intact floor tiles — walkable after 24 hours, fully loadable after 28 days. Material costs: around £10–15/m². A typical 6 m² balcony is done in a weekend.
Why you don't need to remove the tiles
The classic renovation route looks like this: knock off the tiles, check the screed, apply new waterproofing, lay new tiles. Cost: £70–130/m²; time: 2–4 weeks, plus noise and rubble for the neighbours. In 80 % of cases that's unnecessary, because the problem isn't the tiles, it's the joints and junctions.
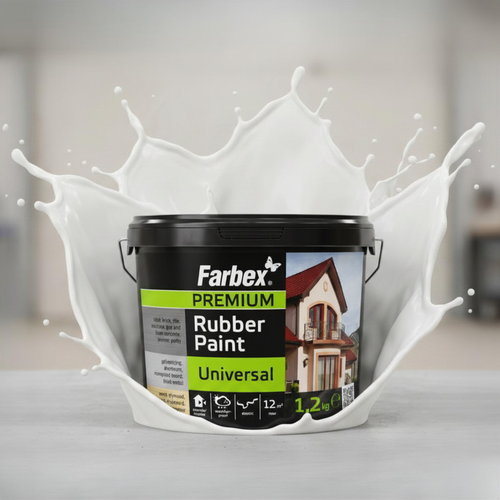
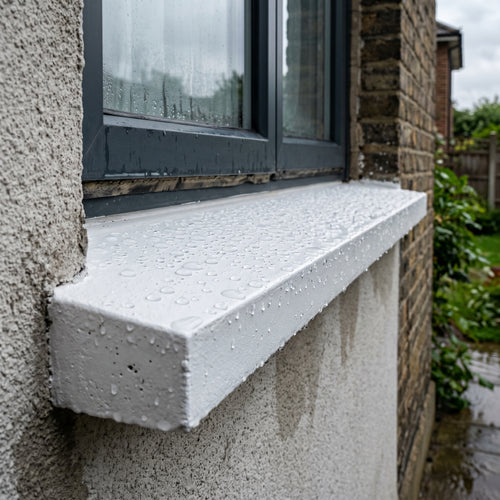
Liquid rubber (also called rubber paint, rubberised paint or flexible coating) closes these weak points elastically. The coating lies seamlessly over tile, joint and junction — as one continuous membrane. Advantages over a complete tear-out:
- Cost saving: material costs of £10–15/m² instead of £70–130/m² including tradespeople
- Time: one weekend instead of several weeks
- No rubble, no disposal, no arguments with the building management about noise hours
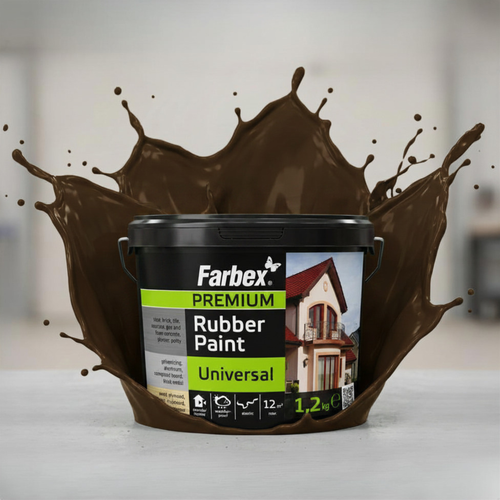
- A fresh look: choose from 14 RAL colours — Graphite, Grey, White, Brown and Red-Brown suit most balconies well
When the method works — and when it doesn't
The prerequisite is structurally sound tiles. Loose tiles must be re-bonded or replaced before coating. If the screed under the tiles is rotten (water stands in puddles, hollow spots sound dull when tapped), there's no way round a full renovation.
Liquid rubber is suitable for:
- Floor tiles made of ceramic, porcelain stoneware or natural stone
- Concrete and screed surfaces
- Asphalt and bitumen substrates (old bitumen membranes)
- Transition areas at door thresholds and railings
Preparation: clean, fill joints, repair loose spots
1. Clean thoroughly
Use a pressure washer or a scrubbing brush with degreaser. Algae, moss, pollen and old wax layers must be removed completely. Then leave to dry for at least 24 hours — residual moisture prevents the first coat from bonding.
2. Loose tiles + crumbling joints
Remove loose tiles, re-lay them with flexible tile adhesive and let them cure for at least 24 hours. Fill deeply eroded joints with a cement-based repair compound. The aim: a closed, level surface.
3. Cove fillet at junctions
At the junctions between balcony floor and wall, and between balcony floor and door threshold, we recommend a cove fillet with a radius of about 3–4 cm. It spreads the mechanical load and stops the waterproofing from cracking at sharp 90° internal edges later on.
Two coats of liquid rubber on tiles
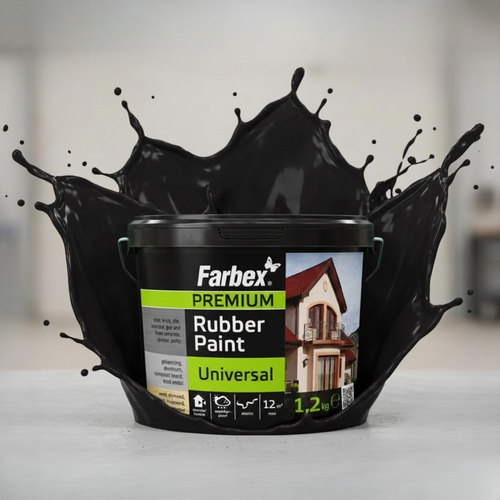
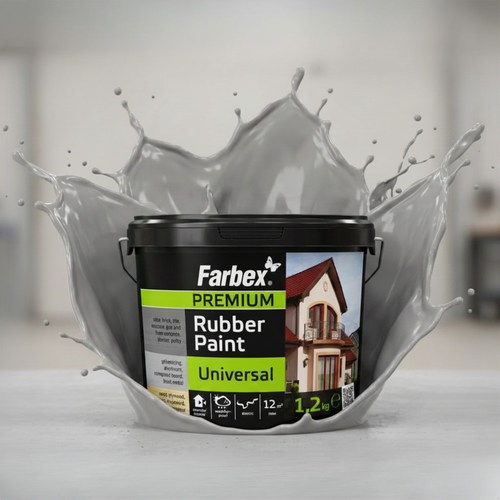
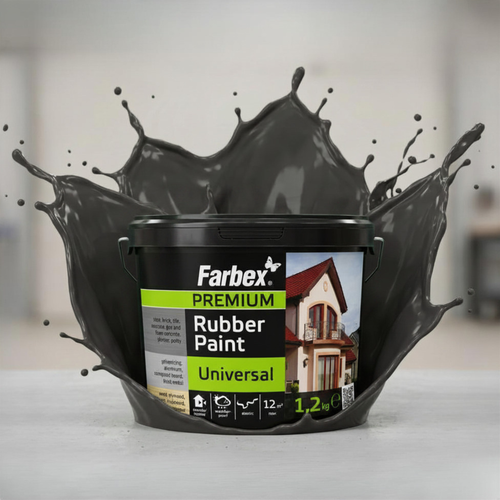
We recommend RubberPaint Universal in Grey (RAL 7046) for balcony floors — this colour hides dirt and weathering best and goes with almost any facade. Of course, the method works with any of our 14 RAL colours.
Coat 1: primer
Thin the material with a maximum of 5 % water and roll it on generously. On smooth tiles, take particular care to wet the joints — they are the critical weak points. Consumption: approx. 150–200 g/m². Touch-dry after 2 hours, recoatable after 4 hours at 20 °C.
Coat 2: top coat
Apply undiluted, approx. 200 g/m². On larger balconies, a 23 cm foam roller for the surface and a 5 cm brush for the corners are worth having. Drying time is the same as for coat 1.
Total consumption: around 350–400 g/m². For a 6 m² balcony that's about 2.5 kg of material — one 3.5 kg tub is enough, with some to spare.
Sealing the junctions at the door and railings properly
Junctions are where waterproofing fails most often. The critical spots on every balcony:
- Door threshold: take the waterproofing at least 10 cm up and embed reinforcing fabric as a strip (into the fresh first coat). With movable door profiles, add sealing tape as well
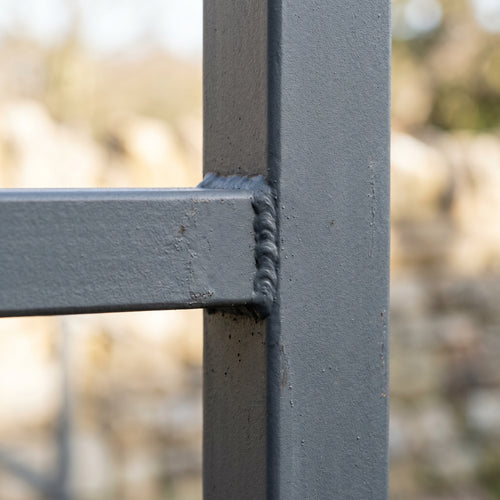
- Railing posts: embed a fabric strip around the base of each post. This is the most common point where moisture gets into the reinforced concrete slab
- Wall junction: take the waterproofing at least 15 cm up the wall and finish it visually with a skirting board or a bonded wall-connection profile
- Floor drains: embed a ring-shaped fabric strip, then go over it with the top coat
If you're unsure, our balcony overview has illustrated examples for each of these junctions.
Walkable after 24 hours, fully loadable after 28 days
Drying stages in normal weather (15–25 °C, average humidity):
- 2 hours: touch-dry — dirt no longer sticks
- 4 hours: recoatable — next coat possible
- 24 hours: rain-resistant and walkable — careful use possible
- 7 days: ready for furniture, plant pots and normal use
- 28 days: fully cured, maximum chemical and mechanical resistance
Important: at temperatures below 10 °C or in high humidity, these times get considerably longer. Don't coat if there's a risk of rain within the first 24 hours.
Pro tip: slip resistance with quartz sand
For a slip-resistant balcony floor, scatter fine quartz sand (grain size 0.3–0.6 mm) into the fresh second coat. Then sweep off the loose sand and go over it with a thin sealing coat. This gives an R10 slip-resistant surface — ideal in rain or snow, without spoiling the look.
Alternatively, anti-slip granules can be mixed in — ask our advice team about this if the balcony gets particularly heavy use (families with children, pets).
Maintenance and service life
Correctly applied liquid rubber waterproofing lasts 15–20 years under normal loads. The first signs that touching up is needed are matt spots or a slight loss of sheen in heavily used areas (walking lines, threshold edge). A refresher coat is far cheaper than a full renovation — plan one roughly every 8–10 years.
What next?
If you want to waterproof your balcony without removing the tiles, our balcony waterproofing without removing tiles page shows the right quantities and colour options, including a quantity calculator.
Related guides:
- Waterproofing a Basement Wall from Outside — Full Guide
- Seal a Flat Roof with Liquid Rubber — Step by Step
- General application guide for RubberPaint
See balcony materials and quantities →
Related terms: Our product is sold in DIY stores and the trade under several names — liquid rubber, liquid rubber paint, liquid membrane, rubber paint, rubberised paint, flexible coating, elastic exterior paint or polymer coating. They all mean the same product: a waterproof, highly elastic coating based on acrylic latex.
RubberPaint EU Team
Technical editorial · RubberPaint