Waterproofing a Basement Wall from Outside — Full Guide

Waterproofing a basement wall from outside is the gold-standard fix for chronic damp — but only if you can access the wall from the garden side. This guide covers when external waterproofing is the right choice, what materials to use, and the full step-by-step from excavation through final backfill. For interior-only options, see our Basement waterproofing landing page.
When external waterproofing is the right choice
External basement waterproofing addresses water at the source — before it reaches the wall. Best suited for:
- New extensions or new basement construction — easiest while the excavation is already open
- Severe damp from lateral seepage — water moving sideways through soil into the wall
- Failed original waterproofing on accessible elevations (single-aspect walls, not party walls)
- Where interior space cannot be sacrificed — finished basements where interior coating would compromise habitability
Not suitable when: the wall is party with a neighbour, when underground services run too close to the wall to safely excavate, or when budget makes interior coating the practical choice.
Materials list
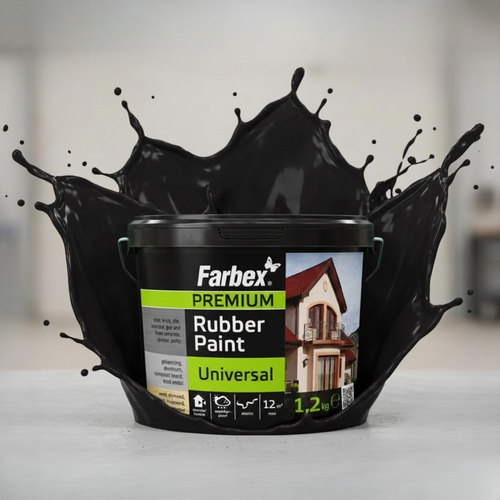
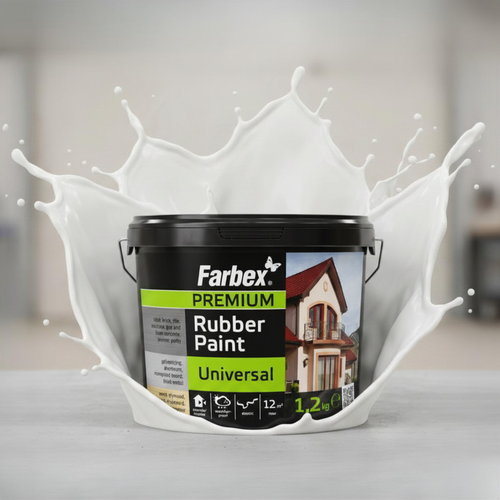
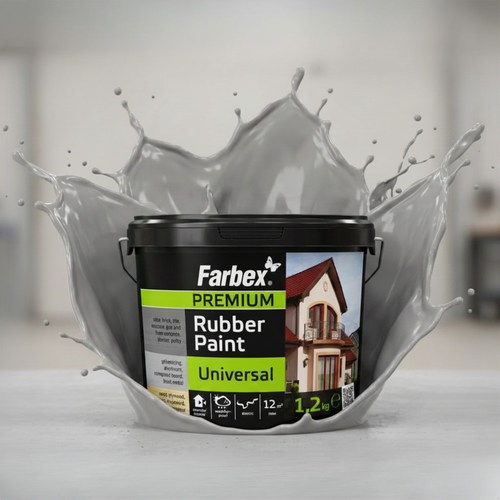
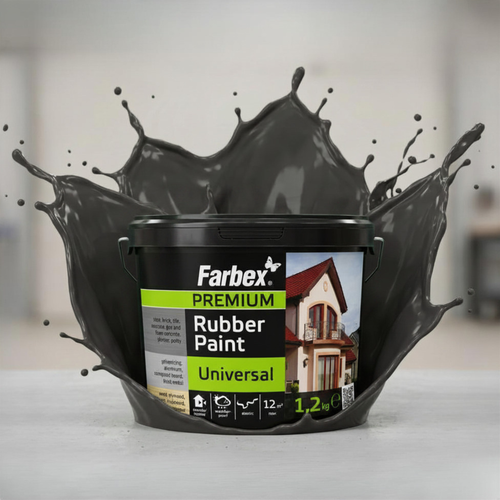
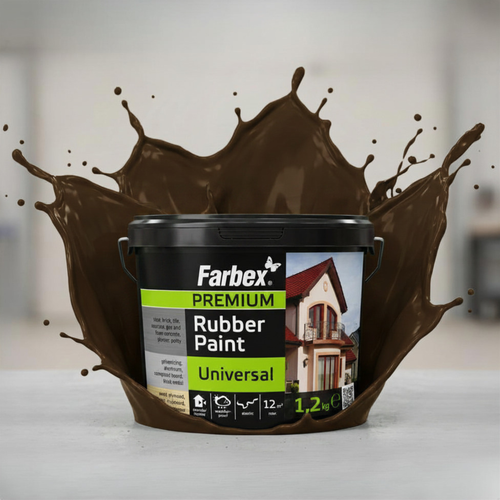
- Liquid rubber coating — 0.4–0.5 kg/m² total (two coats on rough concrete or brick)
- Substrate primer if heavily porous block — diluted first coat works as primer
- Drainage matting / dimple sheet — protects coating from backfill stones
- Crack filler for any gaps > 3 mm
- Geotextile separator above drainage layer
- French drain or perforated pipe at footing level if water pressure is significant
Step-by-step external waterproofing
- Excavate down to footing level. UK building regulations typically require 150 mm clearance below the damp-proof course. Width: 600–800 mm clear access. Shore the excavation if depth > 1.2 m.
- Clean the wall — remove loose render, salt deposits, any flaking material. Wire brush and rinse. Allow 48 hours dry weather before coating.
- Fill cracks and joints — anything wider than 3 mm gets cement-based filler. Allow filler to fully cure.
- Apply first coat — 180 g/m² with brush, working into all surface texture and corners. On highly porous block, thin with up to 5 % water for bond coat behaviour.
- Allow to dry — 4–6 hours minimum at UK summer temperatures, overnight if cooler.
- Apply second coat — 150 g/m² crosswise direction. Even coverage, no thin spots.
- Optional third coat in severe-exposure positions or where the building sits below the natural water table.
- Install drainage protection — dimple sheet or drainage matting against the cured coating. Use stainless or galvanised fixings, never directly through the membrane.
- Lay French drain at footing level on geotextile and 100 mm of clean stone.
- Backfill in 200–300 mm layers with consolidated free-draining material. Avoid sharp stones against the protection layer.
- Reinstate ground level with appropriate fall away from the building.
Lifespan and inspection
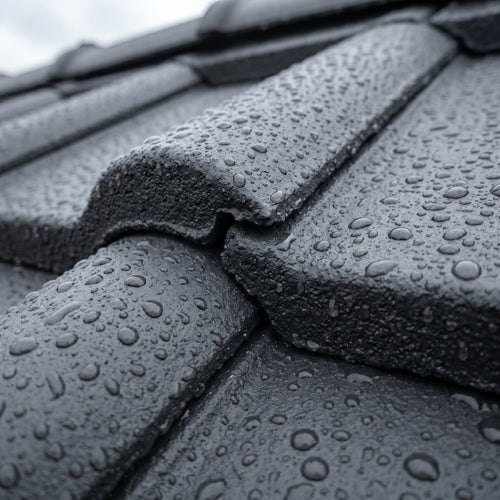
External basement waterproofing with liquid rubber and proper drainage protection typically lasts 20+ years before any maintenance is needed. The coating itself is buried and protected from UV; the drainage layer protects from mechanical damage; and the soil around the building is dry rather than waterlogged.
Inspection points: look for damp marks appearing on interior walls (sign of failure), check ground level fall remains away from building, and ensure drains haven't silted up after heavy storms.
Next steps
For interior-only basement waterproofing (where excavation isn't practical), see our Basement waterproofing landing page. For the plinth zone (lower wall above ground) see Plinth waterproofing.
RubberPaint EU Team
Technical editorial · RubberPaint